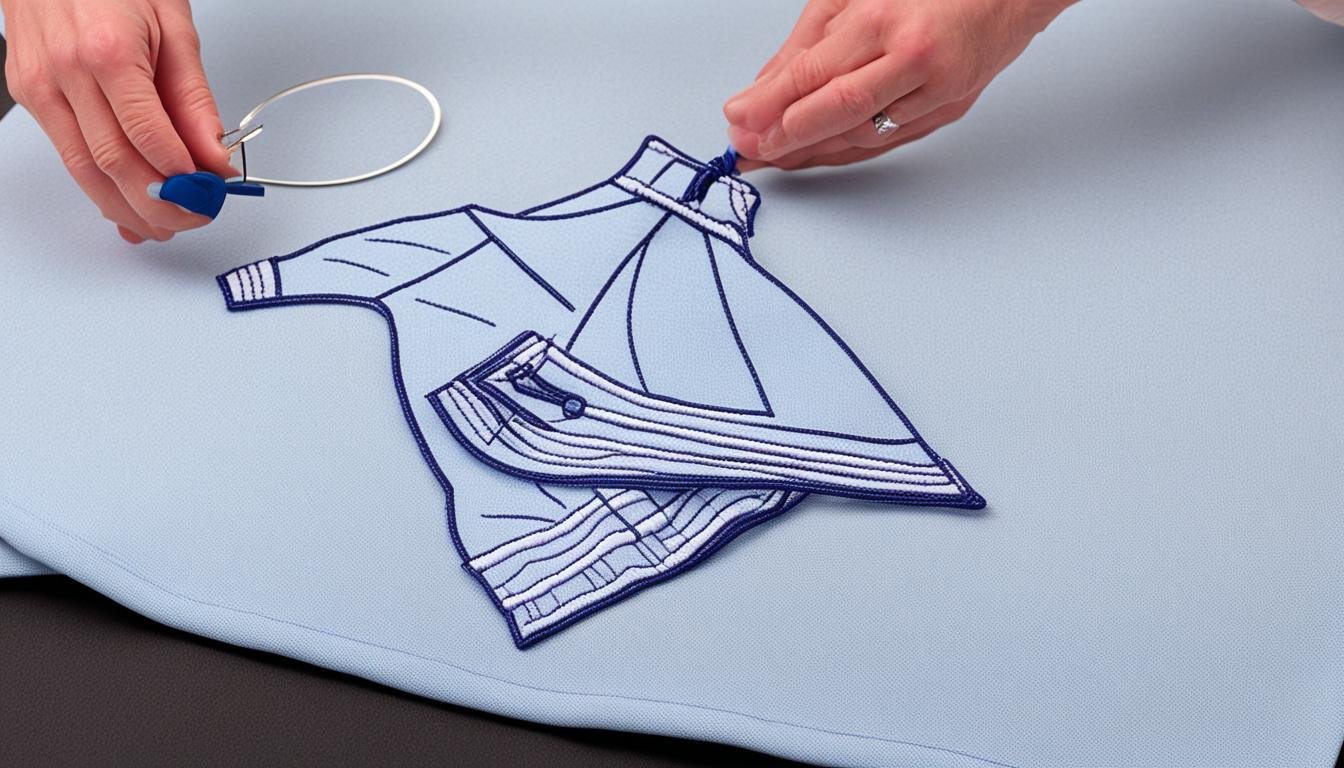
Learning to embroider shirts with my Brother PE770 has been fun and a little tough. I worked hard to find the best way to hoop shirts for embroidery. I found that picking the right stabilizers and getting the placement right is key.
The no-show poly-mesh cut-away is my go-to stabilizer. It’s light, invisible, and sticks to the fabric. It keeps the shirt steady without making it bulky.
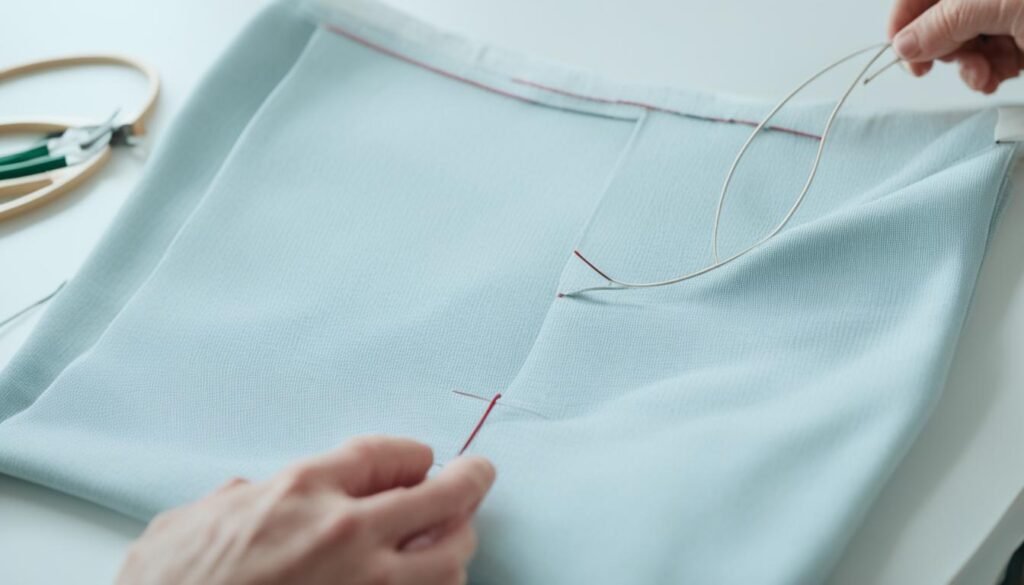
Before hooping, I always iron the shirt. I also use a hoop grid and a fabric marker that disappears. This makes sure the design is right where it needs to be.
A water-soluble topper then gives the final touch for a clean look.
Table of Contents
ToggleKey Takeaways
- Understanding how to hoop a shirt for embroidery is crucial for achieving a flawless design.
- Using a no-show poly-mesh cut-away stabilizer helps keep the fabric stable and invisible.
- Ironing the shirt and marking with a disappearing ink fabric marker ensure accurate placement.
- The Brother PE770 embroidery machine is excellent for beginners, providing a reliable embroidery experience.
- Adding a water-soluble topper finishes the embroidery neatly, elevating the final look.
Understanding Embroidery Hoops
An embroidery hoop is a key tool in stitching. It keeps the fabric tight. This helps make your stitches smooth and even. We will look at the types of hoops and how to pick the right one for you.
Types of Embroidery Hoops
The world of hoops has many options. They vary in material, shape, and size. Here are the most common ones:
| Type | Material | Pros | Cons |
|---|---|---|---|
| Wooden Hoops | Beechwood | Sturdy, high-quality brass fittings | May leave marks on delicate fabric |
| Plastic Hoops | Plastic | Light, inexpensive, gentle on fabric | Can warp or bend if not high-quality |
| Flexi Hoops | Flexible Vinyl | Holds fabric very tight | Challenging for some to use |
| Spring Tension Hoops | Metal, Plastic | Adjustable tension, ideal for machine embroidery | Less common |
| Q-snaps | Plastic | Lightweight, popular among cross stitchers | Requires assembly |
Choosing the Right Hoop
Choosing the right embroidery hoop is important. First, think about the size. Hoops range from 3 to over 12 inches. For hand stitching, 5 to 8 inches is best. Consider these tips too:
- Material: Pick from wood, plastic, or metal fittings based on what you like.
- Shape: Round hoops are usual, but oval or square may suit some projects better.
- Fabric Type: Use spring hoops for thick fabric and wood or plastic for thinner types.
- Tension Mechanism: Hoops with screws or springs give different levels of tightness for stitching.
- Project Size: Choose a hoop that fits your embroidery size. Larger hoops give more working space.
Using a hoop keeps your fabric straight for perfect stitches. Enjoy your stitching!
Materials Needed for Hooping a Shirt
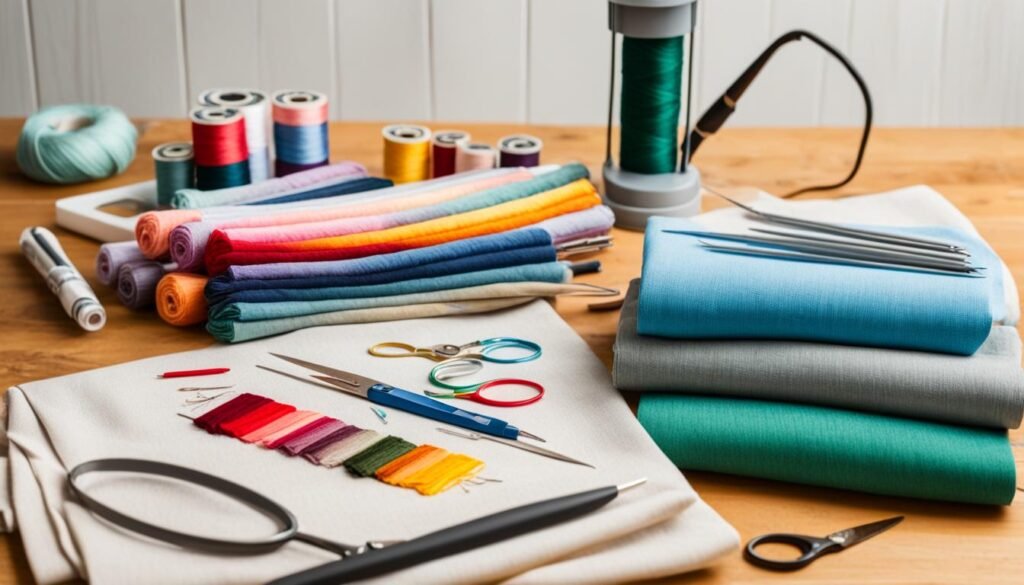
To hoop a shirt well, you need the right embroidery tools and supplies. I’ll show you what’s essential.
Essential Tools
Getting ready for embroidery means having the proper tools. Let’s look at the must-have embroidery essentials:
- Embroidery Hoop: You must have this to keep the fabric tight. Choose from wooden, plastic, or spring tension hoops.
- Iron and Grid: The grid helps you line up the design. An iron makes sure the fabric is smooth.
- Fabric Marker: Use a disappearing ink fabric marker to mark where to embroider.
- Ruler: A ruler helps you place the design exactly where you want it.
- Scissors or Snips: These are for cutting away extra fabric and threads neatly.
Recommended Stabilizers
For smooth embroidery, choose the best stabilizing fabrics:
- Cut-Away Stabilizer: It’s great for knit shirts to make them strong.
- Tear-Away Stabilizer: Gives temporary support and is easy to take off.
- Wash-Away Stabilizer: It dissolves, so it’s good for delicate fabrics.
- Water-Soluble Topper: It stops threads from getting lost in the fabric.
Embroidery Threads and Needles
Picking the right embroidery threads and needles is key to top-notch work. For shirts, use strong polyester threads—they last and look good. Sharp embroidery needles make your stitching exact.
Remember, short stitches mean fewer snags. A water-soluble topper makes thicker fabrics a breeze. Always keep your needles sharp for the best work.
Getting all these embroidery essentials ensures you’re ready for a successful project.
Preparing Your Shirt for Embroidery
Getting your shirt ready for embroidery is key for a pro look. Easy embroidery preparation steps make your designs better and last longer.
Washing and Ironing
Start by washing and ironing your shirt. Washing before removes stiffness and shrinkage. This stops the fabric from bunching up when it’s embroidered. Ironing smooths out the fabric. It makes the surface even for the embroidery needle to sew accurately.
Marking the Embroidery Area
Next, learn how to mark the area for embroidery well. Use tailor’s chalk or water-soluble stickers for marking.
Getting the hoop placement just right relies on marking the right spot. Make sure to mark where your design should go.
This makes sure your design is placed right when you put the hoop on. This is very helpful for delicate fabrics and when you use water-soluble stabilizers.
| Material | Recommended Tools |
|---|---|
| Cotton & Linen Garments | Cotton and linen threads |
| Denim Fabric | Water-soluble stickers |
| Regular Fabrics | Embroidery hoops |
| Velvet & Children’s Clothing | Embroidery patches |
These embroidery preparation steps make the whole process smoother. They make sure your shirt is ready for the best embroidery.
How to Hoop a Shirt for Embroidery
Hooping a shirt for embroidery takes careful work. You must align the fabric and the stabilizer just right. Doing this makes sure your designs look perfect every time.
Placing the Stabilizer
First, get your 2.5 ounce cutaway stabilizer ready. This is great for cotton or cotton-polyester shirts, which are common for embroidery. Put the stabilizer behind the fabric. Be sure it’s smooth and wrinkle-free.
- Gunold KK100 temporary spray adhesive can secure the stabilizer to prevent shifting.
- Cover the back of the embroidery area with stabilizer, ensuring it aligns well with the marked design area.
Aligning the Shirt in the Hoop
Put the inner hoop where your design will be. Usually, this spot is 3″ down from the neck and in the center. Make sure it lines up with any marks on the shirt. Use Cloud Cover Stitch to keep things smooth against the skin.
- Put the inner hoop under the shirt, lining up with your design marks.
- With the inner hoop and stabilizer in place, put the outer hoop over them to secure.
- Smooth out the fabric to avoid puckering during embroidery.
- For delicate fabrics, use a no-show mesh cutaway stabilizer to protect them.
Try different color combos on a small part of the fabric first. This helps you see what looks best. Hooping a shirt right means the fabric is smooth and tight but not stretched. This keeps the shirt looking good.
| Essential Items | Details |
|---|---|
| Stabilizer | Medium-weight cutaway (2.5 ounces), Cloud Cover Stitch for sensitivity |
| Needles | Size 75/11 embroidery needles |
| Temporary Spray Adhesive | Gunold KK100 |
| Alternative Stabilizer | No-show mesh cutaway for sensitive skin |
By following these steps, you’ll learn to hoop fabric right. This makes your embroidery look flawless. Your T-shirt projects will have a pro look with a touch of creativity.
Steps to Properly Position the Design
Picking the right embroidery hoop size is key for a great result. No matter if it’s a shirt logo, a cap, or a towel, a good hoop brings stability and makes work easier.
Then, it’s time to mark the embroidery area. Use a water-soluble pen, like FriXion pens, to make lines on your fabric. Make sure the lines are about 4 inches out from your design for the right alignment.
Match these lines with the marks on the hoops, especially for brands like Baby Lock or Brother, to keep your design looking good.
Here’s an example: a shirt logo on the left chest is usually 3-4 inches wide and 2-3 inches high. Getting the design in the right spot is key for the best look.
Use rulers, tape measures, and guides to help. To really get it right, check out advice from the pros on where to place embroidery designs.
Keep the fabric tight for a smooth finish without puckering. Hooping tools, like the Echidna Hooping Station, can help. They keep everything in place while you work.
Use templates from the manufacturer to position the design just right. This makes it easier to see how the finished embroidery will look. Good placement means the finished piece will be top-notch. For the best tips on hoop placement, look at specialized guides.
Positioning is also about how it looks. For a full-back design, remember it should be 11-12 inches wide and 12-14 inches long. Think about the shirt’s shape when deciding where to place a design. For more help on getting the design just right, get tips that cover the technical and the stylish.
By following these steps carefully, your embroidery can really shine. Each design will be just where it should be, looking great. Enjoy your stitching!
Advanced Shirt Hooping Techniques
Getting into the advanced hooping ways can make your embroidery better. If you’re learning about hoops or how to hoop shirts, these tips are great for a perfect look.
Floating vs. Hooping
One cool new thing is floating embroidery. You hoop only the stabilizer and let the fabric sit on top. It’s super good for t-shirts that tend to get out of shape.
- Benefits of Floating:
- Reduces the risk of fabric damage.
- Prevents distortion and puckering.
- Ideal for delicate and stretchy fabrics.
- Benefits of Hooping:
- Provides even tension across the fabric.
- Ensures stability for more intricate designs.
- Magnetic hoops deliver consistent fabric holding.
Using Water-Soluble Toppers
Using water-soluble toppers is key in advanced hooping. They go on top of the fabric in the hoop. This stops the threads from going into the fabric, making things look pro.
| Fabric Type | Water-Soluble Toppers |
|---|---|
| T-Shirts | Keeps threads on top, great for stretchy stuff. |
| Baby Onesies | Makes the design better and the clothes softer inside. |
| Slippery Fabrics | Stops messed-up looks on see-through or slippery materials. |
Use these hooping tricks with good tools and stabilizers for great embroidery. Don’t forget—practicing and being patient will help you get good at these steps.
Common Hooping Mistakes and How to Avoid Them
Hooping is key, but it’s easy to skip the mishaps and get right. Using the right hoop size can avoid a lot of trouble. Be sure the hoop fits well to do your embroidery hooping best practices.
Now, let’s look at wrong stabilizer use. If you float it instead of hooping it, your work might suffer. To keep everything solid, hoop up the fabric and stabilizer together.
Pulling fabric too tight is a big no-no. Too much and the fabric puckers! Keep it firm, but not so it strains. This helps dodge those common hooping errors.
Hoop burns are real, but hooping right is crucial. Protect your fabric with a layer if you’re worried about marks. This keeps your embroidery from slipping away.
Wrong stabilizer choice can spoil things. Tearaway, cutaway, or no-show mesh work best depending on your project. Knowing what’s right is a key embroidery hooping best practice.
Keep those needles fresh. Change them weekly, especially if you’re seeing thread breaks. A good needle choice for Avancé machines is Groz-Beckert titaniums. They last longer and work better.
Bad thread tension stands out in commercial work. Always test it when you change the bobbins. The drop test is a simple way to get it just right.
Lastly, digital designs need to be spot-on. Right digitizing for hats is especially critical. Consider hiring pros for this and avoid issues like push and pull. This makes your work top-notch.
| Mistake | Solution |
|---|---|
| Using the wrong-sized hoop | Select an appropriately sized hoop for the design |
| Floating instead of hooping stabilizer | Hoop both fabric and stabilizer together |
| Overstretching fabric | Keep fabric taut but not overstretched |
| Improper stabilizer use | Use the correct stabilizer for each project |
| Not changing needles regularly | Check and replace needles weekly |
| Thread tension problems | Check tension every time bobbins are changed |
| Bad digitizing | Use professional digitizing services |
Tips for Perfect Embroidery Hoop Placement
Getting the hoop placement just right takes practice and paying close attention. Here’s how to do it perfectly every time.
Using a Positioning Template
A template for finding the right spot can be super handy. For shirts, place designs about 6″ from the shoulder and 4″ from the center. Center chest designs are often 3″ down from the neckline.
For towels, aim to put the hoop center about 3¼” above the edge for baths and 3″ above for hands. Napkins need their designs 3″ from the corner. Using a template keeps every piece looking neat and professional.
Checking for Wrinkles and Puckers
Smooth hooping stops fabric from puckering and lining up wrong. Start by laying flat fabric on stabilizer larger than the hoop by ½” – 1″.
Don’t stretch the fabric too much when hooping. This can cause problems later. Tightly screw the hoop by hand to avoid hoop burn. For stretchy fabric, a bit of spray adhesive helps make hooping easier.
| Item | Placement |
|---|---|
| Left chest on polo/T-shirt | 6″ from shoulder, 4″ from center front |
| Center chest | 3″ down from neckline |
| Bath towels | 3¼” above the border |
| Hand towels | 3″ above the border |
| Napkins | 3″ from the corner |
Selecting the Best Stabilizer for Your Shirt
It’s important to pick the right stabilizer for your shirt. This choice is key to get neat, professional embroidery.
There are different stabilizer types for various fabrics and embroidery needs.
Cut-Away, Tear-Away, and No-Show Poly-Mesh stabilizers each have their advantages. Knowing about them helps you choose well for your project.
Cut-Away Stabilizer
Cut-Away stabilizers work great for stretchy fabrics like t-shirts. They give your design stability and lasting quality. You can find them in different weights, like Heavy, Medium, or Mesh.
For clothes, Mesh Cut-Away stabilizers stop the fabric from stretching or puckering when stitched. It’s good to match the stabilizer weight with the fabric and design’s stitch count.
Tear-Away Stabilizer
Tear-Away stabilizers are best for firm, woven materials. These include towels, leather, and vinyl. After embroidery, they are easy to tear off, leaving the back smooth.
Choose from light to heavy weights, depending on the fabric and design complexity. For designs with lots of stitches, a medium Tear-Away plus another stabilizer can give more support.
No-Show Poly-Mesh Stabilizer
No-Show Poly-Mesh is perfect for light, thin, or lightly-colored shirts. It keeps the stabilizer hidden while being soft against the skin.
This type is great for active wear because it moves with the garment. It’s light and see-through, keeping your embroidery smooth and without added bulk.
When picking stabilizers for embroidery, think about the fabric, design, and needed durability. These tips ensure your shirt embroidery turns out great.
FAQ
How do I hoop a shirt for embroidery using a Brother PE770 machine?
First, wash and iron your shirt to get rid of wrinkles. Place a stabilizer on the back of where you’ll embroider. Then, mark that spot with a disappearing ink marker. Use the hoop grid for the right placement.
Press the inner hoop onto the shirt and stabilizer gently. Make sure the fabric is smooth. Now, add the outer hoop and tighten the fabric.
What type of stabilizers should I use for embroidery?
Each embroidery project might need a different stabilizer. For shirts, use both cut-away and tear-away stabilizers. No-show poly-mesh cut-away is good because it hides and sticks easily. It also aids in the hooping process.
What are the different types of embroidery hoops?
Embroidery hoops can be made of wood, plastic, or have spring tension. Wood hoops are strong but might leave imprints. Plastic hoops are gentle but don’t always grip firmly. Spring hoops let you adjust the tightness, which is useful for different fabrics.
How do I ensure proper fabric hooping without wrinkles?
First, iron your shirt well. Use the right stabilizer, too. When you hoop, make sure the inner hoop is pressed in well. Then, smooth the shirt out before adding the outer hoop.
Check for any wrinkles before you start embroidering. This step is key to a clean, wrinkle-free design.
What are the pros and cons of different hoops for embroidery?
Wooden hoops last long but can mark your fabric. Plastic hoops are softer but might not grip well. Spring tension hoops are adjustable, fitting various fabric types and handling.
How important is shirt preparation for embroidery?
Shirt prep is very important. Iron out any wrinkles to ensure a smooth finish. Mark the spot you’ll embroider precisely. This helps with hooping correctly, which places your design accurately.
What is the best technique to place an embroidery design accurately?
Select the right hoop size and mark the spot with a fabric marker first. Then, line up the shirt’s markers with the hoop’s grid. This will keep your design looking right.
What’s the difference between floating and hooping?
Floating lets you place fabric over the hoop for things like bags. Secure it with adhesive or basting. For a stronger hold, hoop your fabric directly, which works best for regular embroidery.
How can I avoid common hooping mistakes?
Always line your fabric up with the hoop grid perfectly. Make sure there is even tension without pulling too hard. Stabilize your fabric to stop hoop stress marks and achieve a smooth hoop.
What are the benefits of using water-soluble toppers?
Water-soluble toppers keep threads on top of the fabric, leading to a cleaner look. They’re great for fabrics with nap, like towels. Your stitches will stand out more, making the design pop.
Which stabilizer is best for shirts?
Cut-away stabilizers are best for their strong support. They’ll last through several washes, good for heavy shirts. Tear-away stabilizers work well for lighter fabrics. No-show poly-mesh stabilizers are invisible and perfect for thin or light shirts.
