Have you ever wondered how or can velvet be dyed? Velvet is a luxurious and unique material, but that doesn’t mean you can’t change its color yourself.
With the right techniques and dyes, you can transform the look of velvet items like clothing, upholstery, and decor.
Before you start your dyeing project, it’s important to identify the fiber content of your velvet.
Natural fibers such as silk, cotton, and wool are easier to dye, while synthetics like polyester require special dyes.
In this guide, we’ll walk you through the steps to successfully dye velvet fabric at home.
Can Velvet Be Dyed? (Short Answer)
Yes, velvet can be dyed. The success and ease of dyeing velvet depend on its fiber content. Velvet made from natural fibers like cotton, silk, or wool is easier to dye evenly using fiber-reactive, acid, or natural dyes. Synthetic velvet requires special disperse dyes for best results. Always identify the velvet’s fiber content, use the appropriate dye, and follow the correct dyeing techniques to achieve even, vibrant colors
Key Takeaways
Velvet can be dyed, but the success and ease depends on the fiber content. Natural fibers like cotton, silk and wool are easier to dye evenly than synthetics like polyester, which require special disperse dyes.
It’s important to identify the velvet’s fiber content first by checking the label or doing a burn test. Use the appropriate type of dye based on the fibers – fiber reactive dyes for cotton, acid dyes for silk/wool, and disperse dyes for synthetics.
The dyeing process involves pre-washing the velvet, dissolving the dye in hot water, submerging and constantly stirring the fabric in the dye bath, rinsing thoroughly, washing gently, and air drying or using low heat.
Common mistakes to avoid include not pre-treating the fabric properly, using the wrong dye, handling too vigorously, not controlling the dye bath temperature, insufficient rinsing, and improper drying techniques.
To make dyed velvet last, hand wash in cold water, avoid bleach/harsh chemicals, air dry flat away from sunlight, store carefully to prevent fading and creasing, and always test before cleaning to prevent color bleeding.
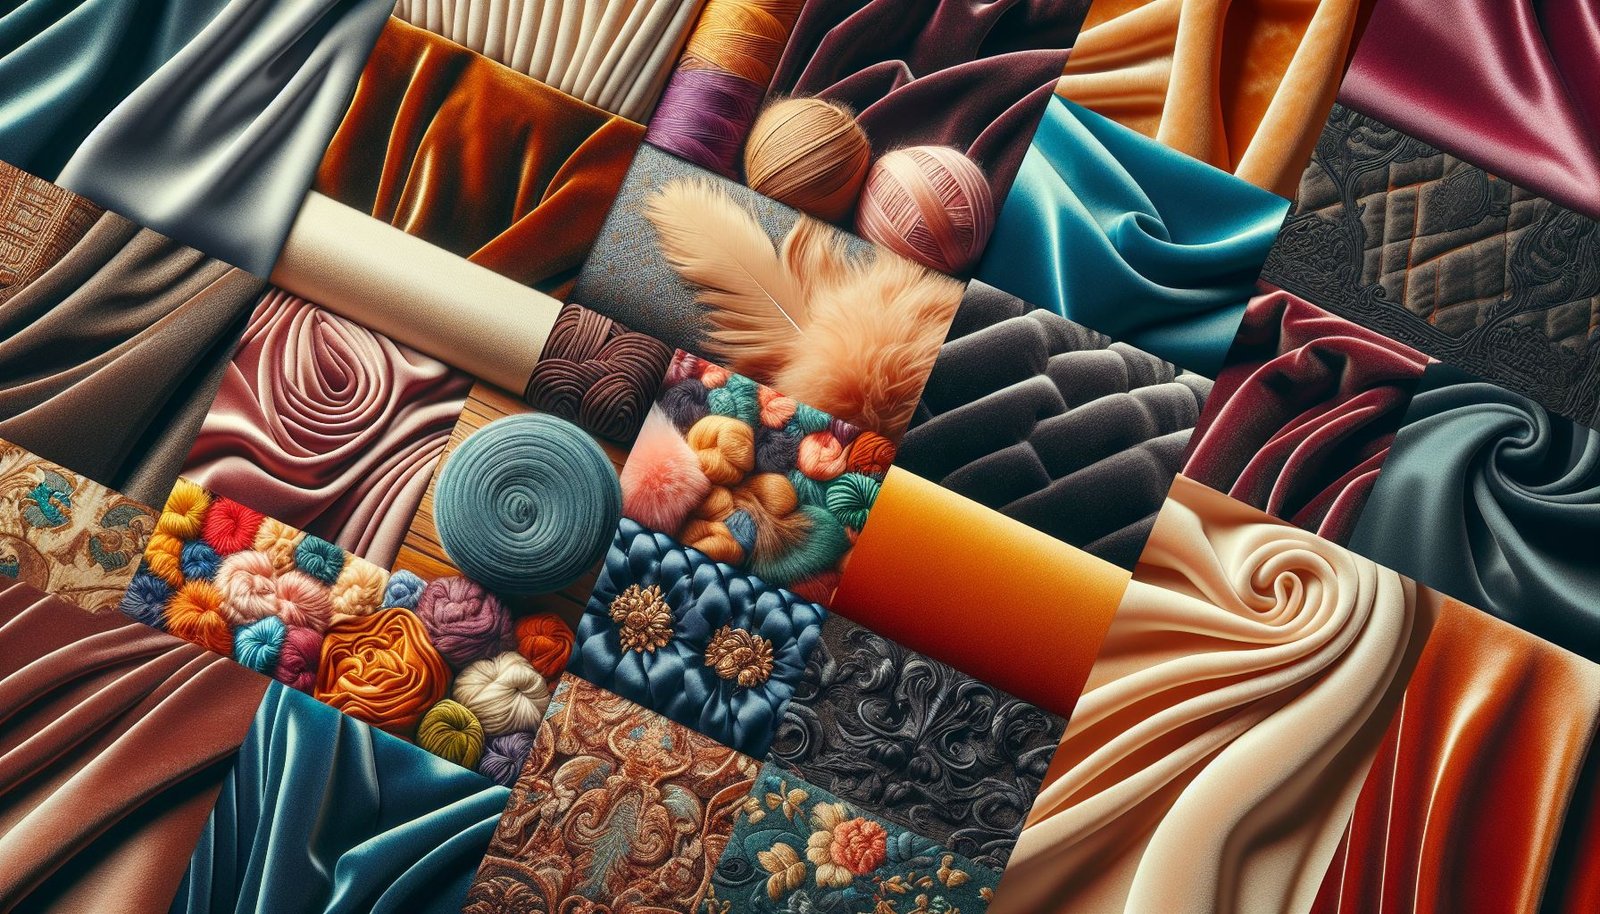
What Type of Velvet Do You Have?
Before you start your velvet dyeing project, you need to identify the type of material you’re working with. Velvet is made using a complex weaving process that creates its soft sheen and luxurious texture.
To identify the fiber content of velvet fabric, you can check the label or burn a small sample to observe the way it burns and smells. The fiber content of velvet fabric can vary widely, and this will determine how easy it is to dye.
Natural fibers such as cotton, silk, and wool are much easier to dye than synthetic fibers like polyester and nylon. To find out what your velvet is made of, check the label or tag on the item.
If it’s a blend of natural and synthetic fibers, the label should tell you the percentages of each type of material.
Keep in mind that velvet with a higher content of natural fibers will be easier to dye evenly and will produce richer, more vibrant colors.
Synthetic velvet made entirely from polyester or nylon can also be dyed, but it requires special dispersive dyes and more effort to achieve good results.
If you’re unsure about the fiber content of your velvet, you can do a burn test on a small, inconspicuous area.
Natural fibers will burn slowly and leave behind soft ash, while synthetics will melt and create hard beads.
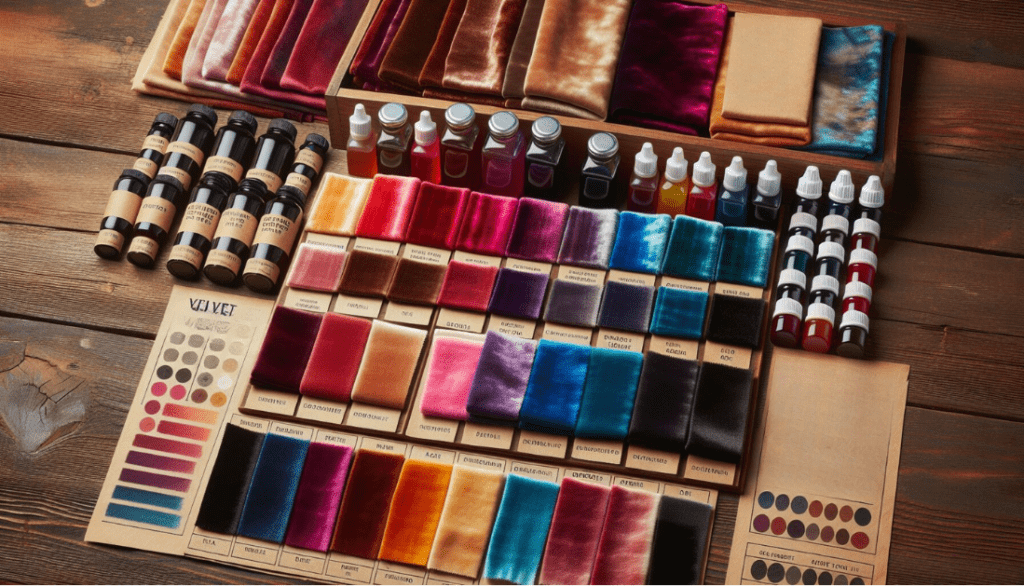
What Dyes Work Best on Velvet?
When it comes to dyeing velvet, the type of dye you should use depends on the fiber content of your fabric. Different fibers require different types of dyes for the best results.
For velvet made from natural fibers like cotton, silk, or wool, you have several options. Fiber-reactive dyes, acid dyes, and natural dyes all work well on these materials.
Fiber reactive dyes are a good choice for cotton velvet, as they form a strong bond with the fibers and produce vibrant, long-lasting colors.
Acid dyes are ideal for protein fibers like silk and wool, and they can create rich, deep shades.
If you prefer a more eco-friendly approach, natural dyes derived from plants, minerals, or insects can also be used on natural fiber velvet.
Keep in mind that natural dyes may produce more muted or earthy tones compared to synthetic dyes.
On the other hand, if your velvet is made from synthetic fibers like polyester or nylon, you’ll need to use dispersive dyes specifically designed for these materials.
Disperse dyes are able to penetrate the tightly woven structure of synthetic fibers and adhere to them well.
Many velvets on the market today are actually blends of natural and synthetic fibers.
In this case, the best dye choice depends on the percentage of each type of fiber in the fabric.
If the velvet contains less than 35% synthetic fibers, you may be able to use an all-purpose dye that’s suitable for both natural and synthetic materials.
However, if the synthetic content is higher than 35%, it’s best to stick with dispersed dyes to ensure even color absorption.
How To Dye Velvet Fabric: Step-by-Step Process
Now that you know what type of dye to use for your velvet fabric, it’s time to gather your supplies and start the dyeing process.
Here’s a detailed step-by-step guide to help you achieve the best results.
Supplies You’ll Need:
- Velvet fabric or item you wish to dye
- Appropriate dye based on the fiber content of your velvet (fiber reactive, acid, disperse, or all-purpose)
- Large stainless steel pot or plastic bucket for the dyebath
- Long-handled stirring utensil (stainless steel or plastic)
- Rubber gloves to protect your hands
- Apron or old clothes to wear while dyeing
- Drop cloth or plastic sheeting to protect your work area
- Washing machine or large sink for rinsing the dyed velvet
- Mild detergent for washing the velvet after dyeing
Instructions:
Step 1: Before you begin, wash your velvet fabric or item thoroughly to remove any dirt, oils, or sizing that may resist the dye. Use a mild detergent and warm water, then rinse well. Leave the velvet damp for the dyeing process.

Step 2: Fill your large pot or bucket with enough hot water for the velvet to move freely. The water should be around 140°F (60°C) for most dyes. Follow the package instructions to determine the correct amount of dye powder to use based on the weight of your velvet and the desired shade. Dissolve the dye powder completely in the hot water, stirring until no specks remain.

Step 3: Carefully submerge the damp velvet into the dyebath, making sure it’s fully saturated. Use your stirring utensil to move the fabric around constantly for 10-30 minutes, depending on the depth of color you want to achieve. This will ensure even color absorption and prevent any blotches or uneven areas.

Step 4: If you’re dyeing silk or wool velvet, add 1/4 cup of white vinegar or citric acid per gallon of water to the dyebath. This will help the dye adhere better to the protein fibers and create a more vibrant, long-lasting color.

Step 5: Once you’ve achieved your desired color, remove the velvet from the dyebath and rinse it in cool water until the water runs clear. Be gentle when rinsing to avoid felting or matting the fibers. You may need to rinse several times to remove all the excess dye.

Step 6: After rinsing, wash the dyed velvet gently in warm water with a mild detergent. This will help remove any remaining dye and soften the fibers. Rinse thoroughly in cool water until no more soap bubbles appear.

Step 7: To dry your dyed velvet, it’s best to air dry it if possible. Hang the fabric or item on a clothesline or drying rack, making sure it’s not in direct sunlight, which can fade the color. If you must use a dryer, use the lowest heat setting and remove the velvet while it’s still slightly damp to avoid shrinkage.

Step 8: If your velvet item needs ironing after dyeing, make sure to do so carefully on the wrong side of the fabric using a low heat setting. You can also use a steamer to remove any wrinkles and restore the pile of the velvet.

By following these steps closely and taking your time, you can achieve beautiful, even color on your velvet fabric.
Remember to always do a test swatch first to check the color and colorfastness before dyeing your entire item.
Common Mistakes To Avoid When Dyeing Velvet Fabric
When dyeing velvet fabric, there are several common mistakes that you should be aware of to ensure the best results. By avoiding these pitfalls, you can achieve even, vibrant colors and maintain the quality of your velvet.
1) Proper Pre-Treatment
One of the most important things to keep in mind is to properly pre-treat the fabric before dyeing.
Velvet has a tendency to resist dyes, so it’s crucial to wash and scour the material thoroughly to remove any dirt, oils, or sizing that may prevent the dye from absorbing evenly.
2) Using the Right Dye
Another mistake to avoid is using the wrong type of dye for your velvet’s fiber content.
As we discussed earlier, natural fibers like cotton and silk require different dyes than synthetic fibers like polyester and nylon.
Using a dye that’s not suitable for your fabric can lead to uneven color absorption, dullness, or even damage to the fibers.
3) Gentle Handling and Sufficient Time
When it comes to the dyeing process itself, it’s important not to rush things. Velvet requires gentle handling and sufficient time to absorb the dye evenly.
Stirring too vigorously or agitating the fabric too much can cause felting, matting, or a tangled mess.
4) Temperature Control
On the other hand, stirring too little can result in splotchy or uneven color.Temperature control is another key factor in successful velvet dyeing.
If the dyebath is too hot, it can cause the fibers to shrink or become distorted. If it’s too cold, the dye may not absorb properly, leading to weak or patchy colors.
5) Thorough Rinsing
Always follow the recommended temperature range for your specific dye and fiber type.After dyeing, be sure to rinse the velvet thoroughly in cool water until it runs clear.
Skipping this step or not rinsing enough can cause the excess dye to bleed or rub off later on, which can be especially problematic with darker or more saturated colors.
6) Proper Drying
Finally, be patient when drying your dyed velvet. Avoid using high heat or direct sunlight, which can fade or damage the fibers.
Instead, air dry the fabric in a well-ventilated area, and iron on a low setting if needed to restore the pile and sheen of the velvet.
By keeping these common mistakes in mind and following the proper techniques for your specific velvet fabric, you can achieve beautiful, long-lasting color results and enjoy your refreshed velvet items for years to come.
Troubleshooting Common Problems
Despite your best efforts, sometimes things can go wrong when dyeing velvet fabric. Here are some common problems and how to troubleshoot them:
1) Dye Looks Uneven or Blotchy:
If your dyed velvet has an uneven or blotchy appearance, there could be several reasons. First, make sure that the dye was fully dissolved in the water before adding the fabric.
Any remaining specks of dye powder can cause concentrated spots of color.
Another cause of uneven dyeing is insufficient stirring during the process. Make sure to agitate the fabric constantly and gently to ensure the dye penetrates evenly into all areas.
If the velvet item wasn’t thoroughly cleaned before dyeing, any dirt, oils, or residue on the surface can resist the dye and cause patchy results.
Always pre-wash your fabric before dyeing to remove any impurities.
2) Color is Too Light:
If the color of your dyed velvet is lighter than you wanted, you may not have used enough dye for the amount of fabric. Double-check the package instructions and increase the dye quantity accordingly.
Another reason for light colors is a too-short dyeing time. Leave the velvet in the dyebath for a longer period to allow the fibers to absorb more color.
The temperature of the dyebath can also affect color absorption. Make sure the water is hot enough (around 140°F or 60°C) to help the dye penetrate the fibers effectively.
3) Velvet Feels Stiff After Dyeing:
Some types of velvet, especially those made from heavier cotton or synthetic fibers, can feel stiff or crunchy after dyeing. This is because the dyeing process can cause the fibers to contract and lose some of their natural softness.
To restore the suppleness of your dyed velvet, try washing it with a gentle fabric softener. This will help relax the fibers and make them feel more pliable.
Another effective method is to steam the velvet using a handheld steamer or the steam setting on your iron.
This will help lift and separate the fibers, making them softer and more luxurious. After steaming, use a soft brush to gently brush the pile of the velvet in the direction of the nap.
If your dyed velvet still feels stiff after these treatments, you can try a commercial velvet softener or conditioner specifically designed for this type of fabric.
These products can help restore the natural feel and drape of the velvet without damaging the fibers or color.
How To Ensure Your Dyed Velvet Fabric Lasts Long?
After successfully dyeing your velvet fabric, it’s important to follow proper care instructions to preserve the color and texture for as long as possible.
Always refer to the care label on your specific velvet item, as different fiber types may have varying requirements.
In general, it’s best to hand wash dyed velvet in cold water with a mild detergent. Avoid using bleach or harsh chemicals, which can strip the color and damage the fibers.
Gently squeeze the excess water from the fabric, but do not wring or twist it, as this can cause distortion or matting.
To dry your dyed velvet, lay it flat on a clean, absorbent towel and roll it up to remove any remaining moisture. Then, unroll the fabric and allow it to air dry completely, away from direct sunlight or heat sources.
Once dry, you can use a soft brush to gently brush the pile of the velvet in the direction of the nap to restore its softness and sheen.
When storing dyed velvet items, it’s important to keep them away from direct sunlight, as this can cause fading over time.
If possible, store velvet garments on padded hangers to maintain their shape and prevent creasing.
For larger items like upholstery or curtains, fold them loosely with acid-free tissue paper between the layers to prevent color transfer and crushing.
To keep your dyed velvet looking its best, avoid exposing it to excessive moisture, heat, or friction. If you need to clean the fabric, always test a small, inconspicuous area first to ensure the color doesn’t bleed or fade.
With proper care and storage, your beautifully dyed velvet can remain vibrant and luxurious for years to come.
Frequently Asked Questions (FAQs)
Can You Dye Velvet Upholstery Without Removing It from the Furniture?
Yes, it is possible to dye velvet upholstery without removing it from the furniture, but it requires careful application and may not produce even results.
What Are the Best Dyes for Velvet Fabric?
The best dyes for velvet depend on the fiber content. Use fiber reactive dyes for cotton, acid dyes for silk or wool, and disperse dyes for synthetics.
How Can You Fix Patchy Dye Results on Velvet?
To fix patchy dye results on velvet, try re-dyeing the fabric with a darker shade or using a fabric marker or paint to blend the uneven areas.
Wrapping it Up
Learning how or can velvet be dyed can open up a world of creative possibilities for refreshing old clothing, upholstery, or decor items.
By understanding the different fiber types and their corresponding dyes, as well as following the proper techniques for pre-treatment, dyeing, and aftercare, you can achieve beautiful, even color results on this luxurious fabric.
Whether you’re looking to give a new lease on life to a vintage velvet dress or update the look of your living room sofa, dyeing velvet at home is a fun and rewarding DIY project that can save you money and allow you to express your personal style.
Related Posts: