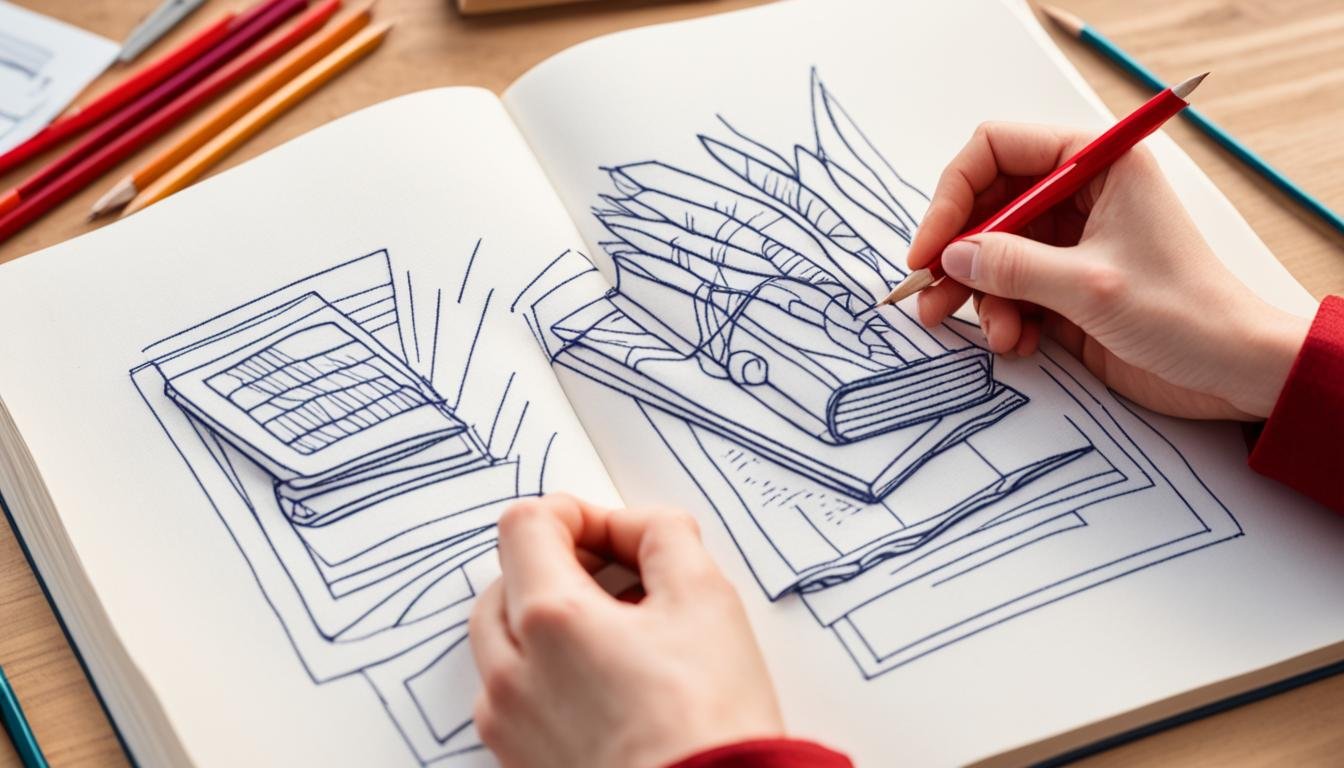
Have you ever put on a new dress or skirt and noticed that the bottom edge wasn’t straight? Maybe one side was higher than the other.
This happens a lot, and it’s called an uneven hem. It can make your outfit look not as nice as it should.
Fixing an uneven hem is important because it makes your clothes look good and feel right. In this guide, I’ll show you some simple steps to fix this problem.
You won’t need to worry next time you find an uneven hem because I’ll help you make it look great again.
Let’s learn how to fix an uneven hem so you can feel happy and confident wearing them!
Key Takeaways
- Recognize common issues like incorrect cutting, variations in fabric tension, and measuring errors that lead to uneven hems.
- Gather necessary items such as seam rippers, measuring tapes, fabric scissors, pins, and an iron.
- Ensure you have a well-lit workspace with all tools within reach to facilitate the hemming process.
- Follow detailed steps including preparation and assessment, unpicking the old hem, evening out the fabric, measuring and pinning the new hem, and final stitching.
- Use fabric-appropriate needles, threads, and techniques to handle different materials like silk, denim, and stretch fabrics effectively.
- Take your time, measure accurately, and use the correct tools and techniques to prevent common errors.
What Causes an Uneven Hem?
To fix an uneven hem, it’s essential to understand what causes it in the first place. Let’s dive into the common factors that lead to this issue:
Incorrect Cutting Techniques
Incorrect cutting techniques can result in an uneven hem. This happens when the fabric is not cut straight or at the correct angle, leading to an uneven edge. Even a slight deviation from the intended cut line can cause the hem to become uneven.
Variations in Fabric Tension During Sewing
Fabric tension plays a crucial role in maintaining an even hem. When the fabric is stretched or pulled too tightly during sewing, it can cause the hem to become uneven. This is especially true for fabrics with high stretchability or those prone to shrinkage.
Measuring Mistakes That Lead to Uneven Hems
Inaccurate measuring or marking can also lead to an uneven hem. If the hem allowance is not marked correctly or the measuring tape is not positioned accurately, it can result in an uneven hemline.
Essential Tools and Materials Needed
To fix an uneven hem, you need some tools and materials. Here’s what you should have:
- Seam ripper: This helps you take out stitches without hurting the fabric.
- Measuring tape: You use this to check the length and make sure everything is even.
- Fabric scissors: Essential for cutting fabric neatly, fabric scissors ensure a clean and straight cut when trimming excess fabric.
- Pins: Pins hold the fabric in place while you work.
- Iron: An iron helps you press the hem and keep it nice and flat.
Different fabrics need different threads and needles. For example, use a fine needle and thread for light fabrics like silk.
For thicker fabrics like denim, use a stronger needle and thicker thread.
Tips on Setting Up a Proper Workspace for Hem Adjustments
When you fix a hem, it’s good to have the right space set up. Make sure you have a big table to spread out the fabric. Good lighting is important so you can see well.
Keep all your tools close by so you can reach them easily. This makes the job easier and helps you do a better job on your hem.
How To Fix An Uneven Hem: 5 Easy Steps!
Step 1: Preparation and Assessment
First, put on the skirt or dress and see where the hem is not even. Use the tailor’s chalk or a fabric marker to draw a line where the hem should be. Make sure the line is the same distance from the floor all around.

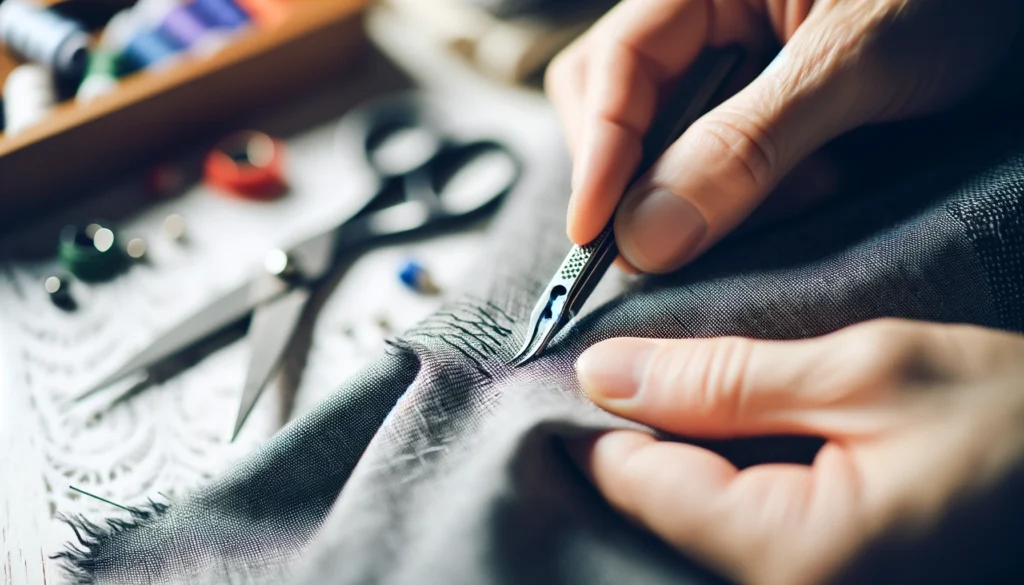
Step 2: Unpicking the Hem
Take out the old stitches carefully with a seam ripper. Do this without pulling or damaging the fabric. If you’re not sure how to use a seam ripper, there are guides that can help you do it safely.
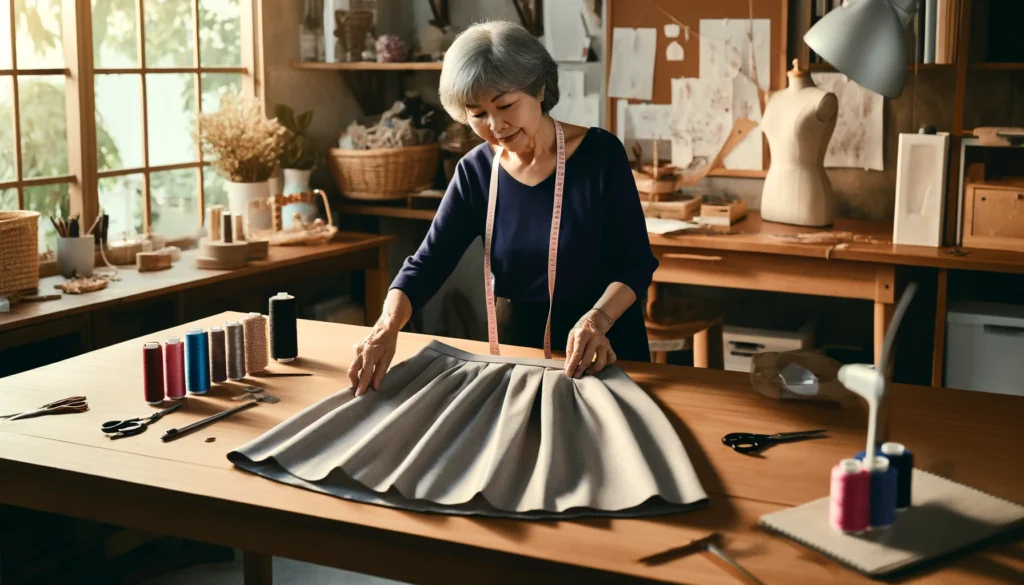
Step 3: Evening Out the Fabric
After removing the stitches, spread the fabric out. Make sure there are no folds or bumps. If the fabric is stretchy or cut on the bias, it might have stretched out. Let it hang for a day or so to see how much it stretches before you fix it.
Step 4: Measuring and Pinning the New Hem
Measure the hem again with a measuring tape. Pin the fabric in place to keep the new hem even. Check your pins to make sure the hem is still even all around.

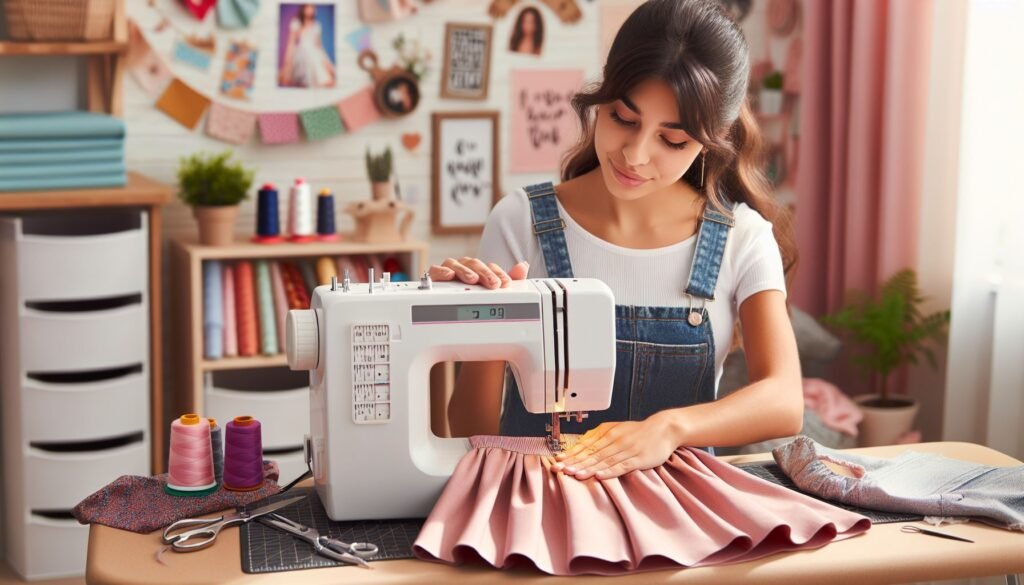
Step 5: Final Stitching and Finishing Touches
Choose the right kind of stitch for your fabric. If you’re sewing by machine, you might use a straight stitch or a zigzag stitch, depending on the fabric. Sew the hem carefully, keeping the tension even. After sewing, iron the hem to make it flat and neat.
Remember to use the right tools and take your time. If you’re working with a tricky fabric or a special kind of hem, like a rolled hem, you might need to use different techniques. If you’re not sure, you can always look up more tips or ask someone who knows about
Advanced Tips for Difficult Fabrics
Fixing an uneven hem can be tricky, especially when working with challenging fabrics. Here are some advanced tips to help you navigate difficult materials like silk, denim, or stretch fabrics:
Silk and Delicate Fabrics
- Use a sharp, fine-tipped needle and a silk-specific thread to prevent damage and tangling.
- Employ a gentle, even tension when sewing to avoid puckering or distorting the fabric.
- Use a walking foot or Teflon foot to help guide the fabric smoothly and prevent slipping.
Denim and Heavy Fabrics
- Use a heavy-duty needle and a denim-specific thread to handle the fabric’s thickness and density.
- Adjust your sewing machine’s tension and stitch length to accommodate the fabric’s weight and prevent breaking.
- Use a denim-specific hemming technique, such as a blind hem or a traditional hem with a heavy-duty hemming web.
Stretch Fabrics
- Use a stretch-specific needle and thread to maintain the fabric’s elasticity and prevent damage.
- Employ a zigzag stitch or overlock stitch to prevent fraying and maintain the fabric’s stretchiness.
- Use a walking foot or Teflon foot to help guide the fabric smoothly and prevent slipping.
Additional Tips
- Always pre-treat your fabric before sewing to prevent shrinkage and distortion.
- Use a serger or overlock machine to finish seams and prevent fraying.
- Press your fabric as you go to maintain a crisp, smooth finish.
By adjusting your sewing techniques and tools for specific fabric types, you’ll be able to tackle even the most challenging materials with confidence and achieve a professional-looking finish.
Common Mistakes to Avoid When Fixing an Uneven Hem
When fixing an uneven hem, it’s easy to fall into common pitfalls that can lead to frustration and subpar results. Here are some frequent errors sewers make and how to avoid them:
Mistake 1: Rushing the Process
When you try to sew too fast, you might skip important steps or make mistakes.
Solution: Always take your time. Make sure you’re not distracted and follow all the steps carefully.
Mistake 2: Not Measuring Accurately
If you don’t measure the length of the hem from the ground or the edge of the fabric all around, your hem won’t be even.
Solution: Always use a ruler or a tape measure to check the length of the hem at multiple points to ensure it’s even all around before you start sewing.
Mistake 3: Using the Wrong Thread or Needle
Using a thread or needle that doesn’t match your fabric can cause the stitches to break or not hold properly.
Solution: Use a thread that matches the color and thickness of your fabric. Also, pick a needle that’s the right size for your fabric; for example, use a finer needle for delicate fabrics and a thicker needle for heavy fabrics.
Mistake 4: Not Pressing the Fabric
If you sew without ironing the fabric first, the hem might not lie flat, making it look unprofessional.
Solution: Always iron the area where you’ll be sewing the hem. This helps you see the true length and keeps the fabric straight while you sew.
Mistake 5: Not Accounting for Fabric Stretch
Some fabrics like knits or jersey stretch more than others. If you don’t consider this, the hem might be too loose or too tight once worn.
Solution: Stretch the fabric slightly as you measure and sew. This way, the hem will fit right when the fabric stretches during wear.
Mistake 6: Not Using the Right Hemming Technique
Using the same sewing technique for all types of fabric can lead to problems like puckering or uneven hems.
Solution: Learn about different hemming techniques. For example, use a double-fold hem for thicker fabrics and a blind hem stitch for dress pants or skirts for a cleaner look.
How to Prevent Uneven Hems in Future Projects?
Preventing uneven hems is always better than fixing them! By following these best practices, you’ll be able to ensure even hems from the start:
Cutting
- Use a rotary cutter and mat to ensure accurate, straight cuts.
- Cut the fabric on a flat surface using a ruler or cutting guide to prevent deviations.
- Cut two front and two back pieces (if applicable) to maintain symmetry.
Measuring
- Measure twice, cut once! Double-check your measurements to avoid errors.
- Use a measuring tape or ruler to ensure accurate measurements.
- Consider fabric stretch and adjust measurements accordingly.
Sewing
- Use a walking foot or Teflon foot to guide the fabric smoothly and prevent slipping.
- Maintain consistent tension and stitch length to prevent puckering or distortion.
- Press fabric as you go to maintain a crisp, smooth finish.
Fabric Selection and Preparation
- Choose fabrics suitable for your project, considering stretch, drape, and weight.
- Pre-treat fabric before sewing to prevent shrinkage and distortion.
- Iron and press the fabric before cutting to remove wrinkles and creases.
By following these best practices, you’ll be able to prevent uneven hems and achieve professional-looking results from the start. Remember, attention to detail and precision are key to success in sewing!
Frequently Asked Questions
Why Does My Hem Keep Coming Out Uneven?
Incorrect cutting, measuring, or sewing techniques cause uneven hems; ensure accurate measurements and consistent tension.
Can I Fix An Uneven Hem Without A Sewing Machine?
Yes, you can fix an uneven hem by hand-stitching or using a needle and thread to adjust the hemline.
How Do I Fix An Uneven Hemline On A Circle Skirt?
Mark the correct hemline, unpick the existing hem, redistribute fabric evenly, and re-sew the hem using a walking foot or Teflon foot.
What Are The Best Tools For Measuring A Hem Accurately?
Use a measuring tape, ruler, or seam gauge to measure hems accurately; consider using a hem gauge for consistent measurements.
Final Thoughts
Fixing an uneven hem can make your clothes look and fit better. By following the steps in this guide, you can learn how to fix an uneven hem and avoid common mistakes. Remember, taking your time and measuring carefully is key to getting great results.
Whether you’re working on a skirt, dress, or pants, these tips will help you achieve a neat and even hem. Keep practicing these techniques, and soon, fixing an uneven hem will be a breeze!