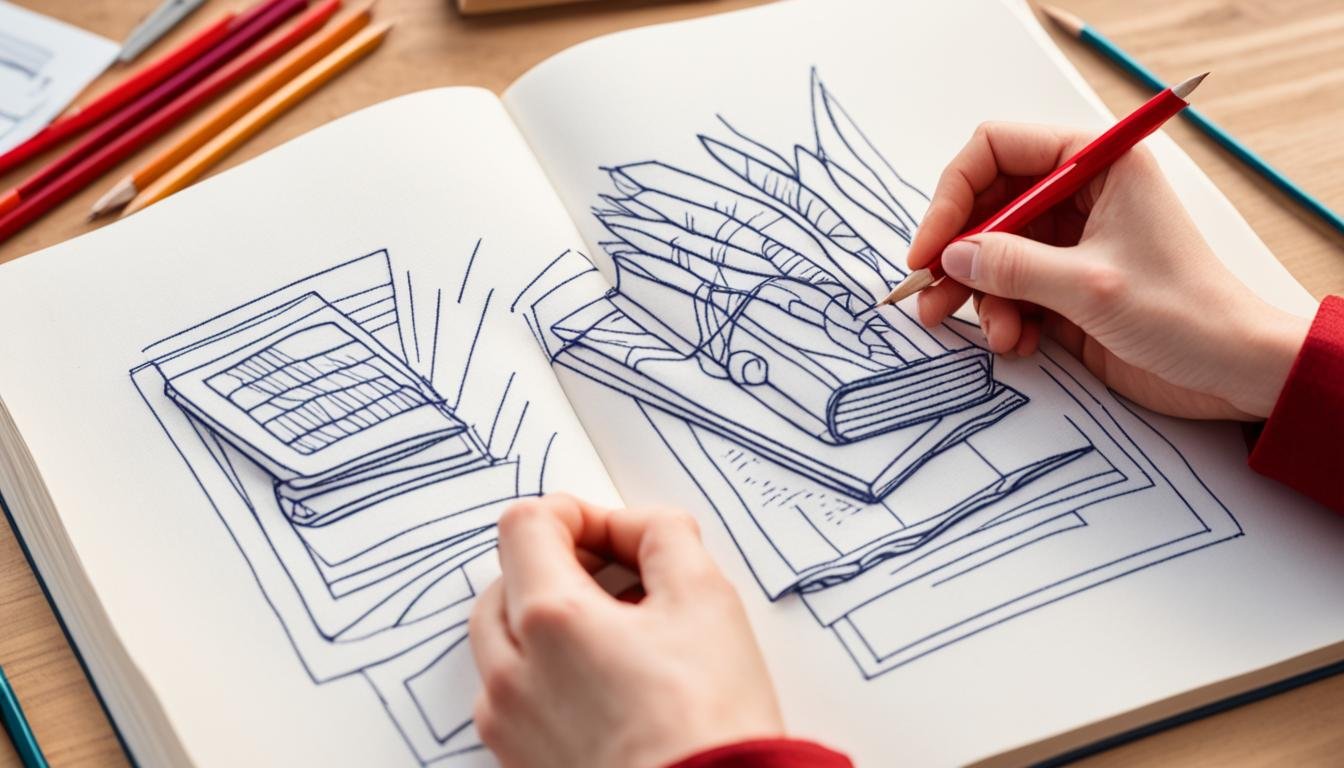
Have you ever wondered how to hem a velvet dress without ruining its luxurious look? Velvet is a beautiful fabric, but it can be tricky to work with.
I remember the first time I tried to hem a velvet dress; it felt like the fabric had a mind of its own! But don’t worry; I’ve learned some great tips and tricks along the way.
In this guide, I’ll show you how to shorten a velvet dress step-by-step so you can achieve a professional finish without frustration.
Let’s get started and make your velvet dress look perfect.
Preparing to Hem a Velvet Dress
Tools and Materials Needed
To hem a velvet dress, you will need the following tools and materials:
- Sharp scissors or a rotary cutter
- Pins or fabric clips
- Hand sewing needles
- Sewing machine with a walking foot or roller foot
- Fine, lightweight thread that matches the color of your fabric
- Sew-in interfacing or silk organza for stabilizing
- Measuring tape or ruler
- Fabric marker or chalk
Pre-Hemming Preparations
1. Hanging the Dress
Before you start hemming, hang your velvet dress for 24 hours. This allows the fabric to relax and stretch out naturally. Velvet is known for its drape and weight, so this step helps ensure an even hemline.
2. Marking the Hemline
After hanging the dress, mark the hemline accurately. Use a fabric marker or chalk to draw a line where you want the hem to be. Make sure the dress is hanging straight and that the hemline is even all around.
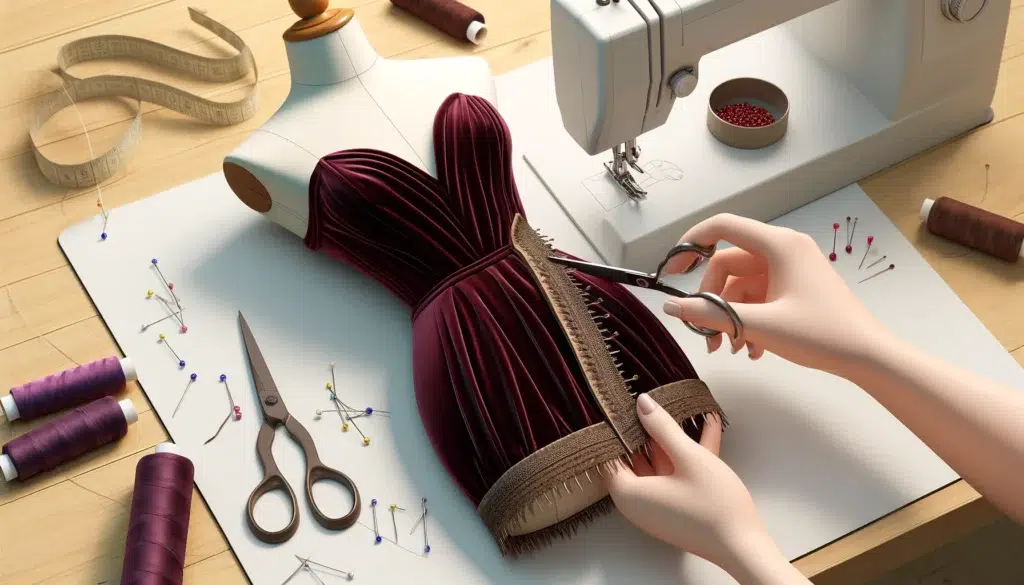
3. Cutting Tips
When cutting velvet, be careful to avoid shifting and fraying. Use sharp scissors or a rotary cutter for clean cuts. Lay the fabric flat on a smooth surface and use pins or fabric clips to hold it in place. Cut slowly and steadily to prevent the fabric from moving. This will help you achieve a precise and even hem.
How To Hem A Velvet Dress: A Step By Step Guide
Step 1: Preparing the Hem
Trimming and Grading the Seam Allowances: Trim the seam allowances to reduce bulk. Grading the seams means cutting each layer of fabric to a different width to create a smooth transition.
Using a Serger or Zigzag Stitch to Finish Raw Edges: Velvet can fray easily, so finish the raw edges with a serger or a zigzag stitch. This will prevent fraying and give a clean edge.
Step 2: Choosing the Hemming Method
Single-Fold Hem vs. Double-Fold Hem: Decide whether to use a single-fold hem (folding the fabric once) or a double-fold hem (folding the fabric twice). A single-fold hem is less bulky, while a double-fold hem provides a cleaner finish.
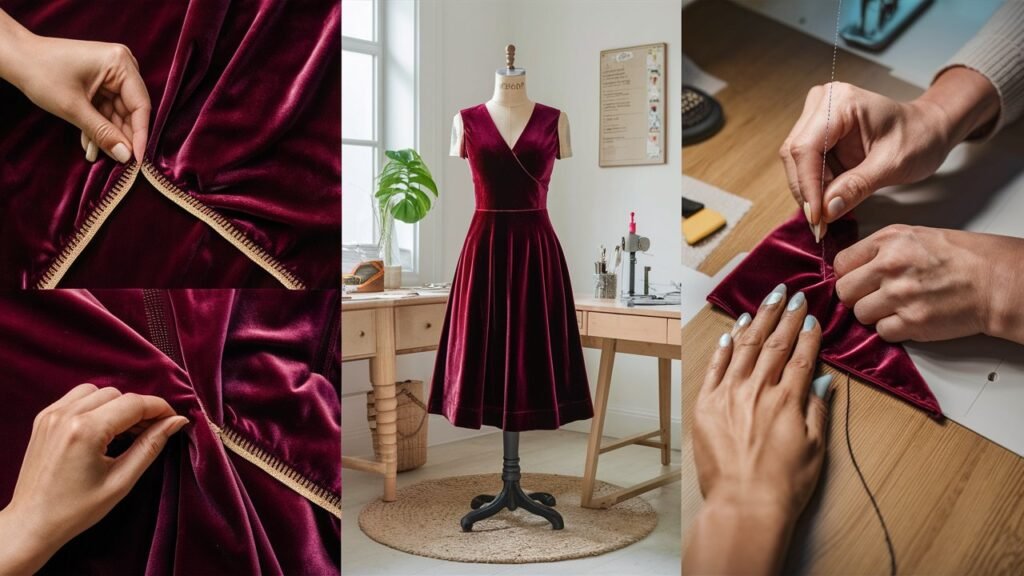
Blind Stitch by Hand for an Invisible Finish: For a professional look, use a blind stitch by hand. This stitch is almost invisible on the right side of the fabric.
Using Fabric Glue Stick for Temporary Holding: If you need extra help holding the hem in place, use a fabric glue stick. This is a temporary solution that can make sewing easier.
Step 3: Sewing the Hem
Hand Stitching Techniques for a Clean Finish
- Prepare Your Needle and Thread: Thread a hand sewing needle with fine, lightweight thread that matches your velvet fabric. Knot the end of the thread.
- Fold the Hem: Fold the fabric up to the marked hemline. Secure it in place with pins or fabric clips.
- Start Stitching: Begin at one end of the hem. Insert the needle into the fold of the hem, bringing it out a short distance away. This hides the knot inside the fold.
- Blind Stitch: Use a blind stitch for an invisible finish. Take a small stitch in the main fabric, catching just a few threads. Then, insert the needle back into the fold of the hem, moving forward a short distance. Repeat this process, keeping stitches small and even.
- Continue Around the Hem: Continue stitching around the entire hem, keeping your stitches consistent. Remove pins or clips as you go.
- Finish Off: When you reach the end, make a small knot in the thread and hide it inside the fold. Trim any excess thread.
Using a Sewing Machine with Appropriate Settings
- Set Up Your Machine: Equip your sewing machine with a walking foot or roller foot. This helps feed the fabric evenly and prevents the pile from getting trapped.
- Adjust Settings: Reduce the presser foot tension to avoid crushing the pile. Set your machine to a straight stitch or a zigzag stitch, depending on your preference.
- Fold the Hem: Fold the fabric up to the marked hemline and secure it with pins or fabric clips.
- Start Sewing: Begin sewing at one end of the hem. Sew slowly and steadily, removing pins or clips as you go. Hold the fabric taut to prevent it from shifting.
- Backstitch: At the beginning and end of your stitching, use a backstitch to secure the stitches.
- Finish Off: Once you have sewn around the entire hem, trim any loose threads and check for evenness.
Step 4: Final Touches
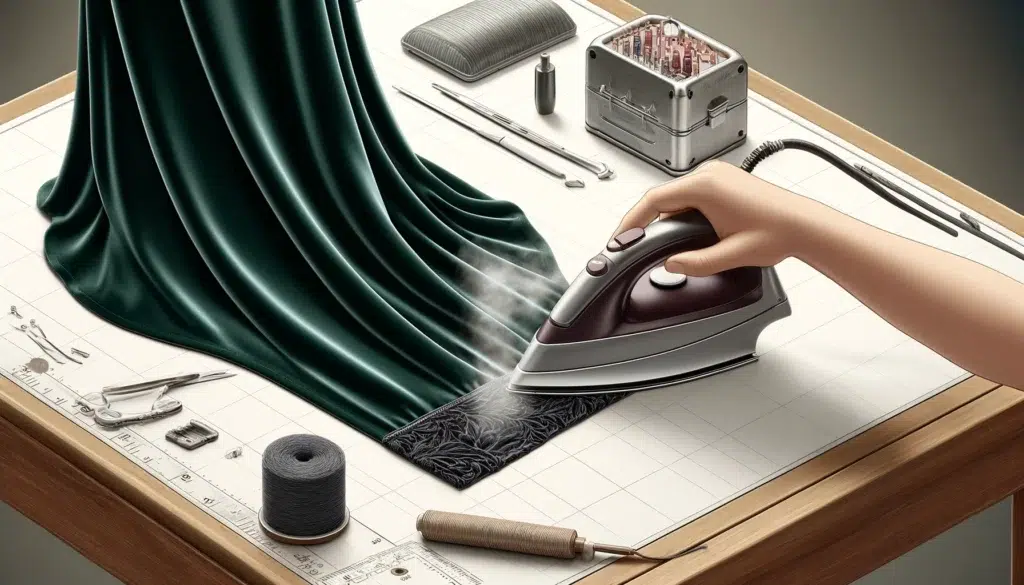
Steaming the Hem Without Touching the Fabric: Use a steam iron to gently steam the hem. Hold the iron close to the fabric without touching it to avoid crushing the pile.
Finger Pressing and Final Adjustments: After steaming, use your fingers to press the hem into place. Make any final adjustments to ensure the hem is even and smooth.
By following these steps, you can hem your velvet dress with confidence and achieve a professional finish.
Additional Tips and Tricks
Using Interfacing and Stabilizers
- When and How to Use Sew-In Interfacing: Sew-in interfacing is ideal for velvet because it doesn’t require pressing, which can crush the pile. Cut the interfacing to the same size as the fabric piece and sew it in place. This provides stability without altering the fabric’s texture.
- Alternatives to Fusible Interfacing: If you can’t find sew-in interfacing, you can use lightweight fabrics like silk organza or cotton as a substitute. These materials provide support without the need for ironing.
Maintaining the Nap
- Techniques to Avoid Crushing the Pile: Always handle velvet gently to avoid crushing the pile. When pressing, use a velvet board or place a piece of velvet face-up on your ironing board to protect the fabric.
- Best Practices for Pressing Velvet: Use steam to press velvet. Hold the iron above the fabric without touching it and let the steam relax the fibers. Finger press seams and hems to avoid flattening the pile.
Final Thoughts
Learning how to hem a velvet dress can seem tricky, but with the right steps, it becomes manageable. Remember to hang your dress for 24 hours before starting. Use sharp tools and handle the fabric gently.
Choose the best hemming method for your needs, whether it’s a single-fold hem or a blind stitch. Always steam the hem without touching the fabric to avoid crushing the pile.
By following these tips, you can learn how to hem a velvet dress and achieve a professional finish. Enjoy the process and the beautiful results!