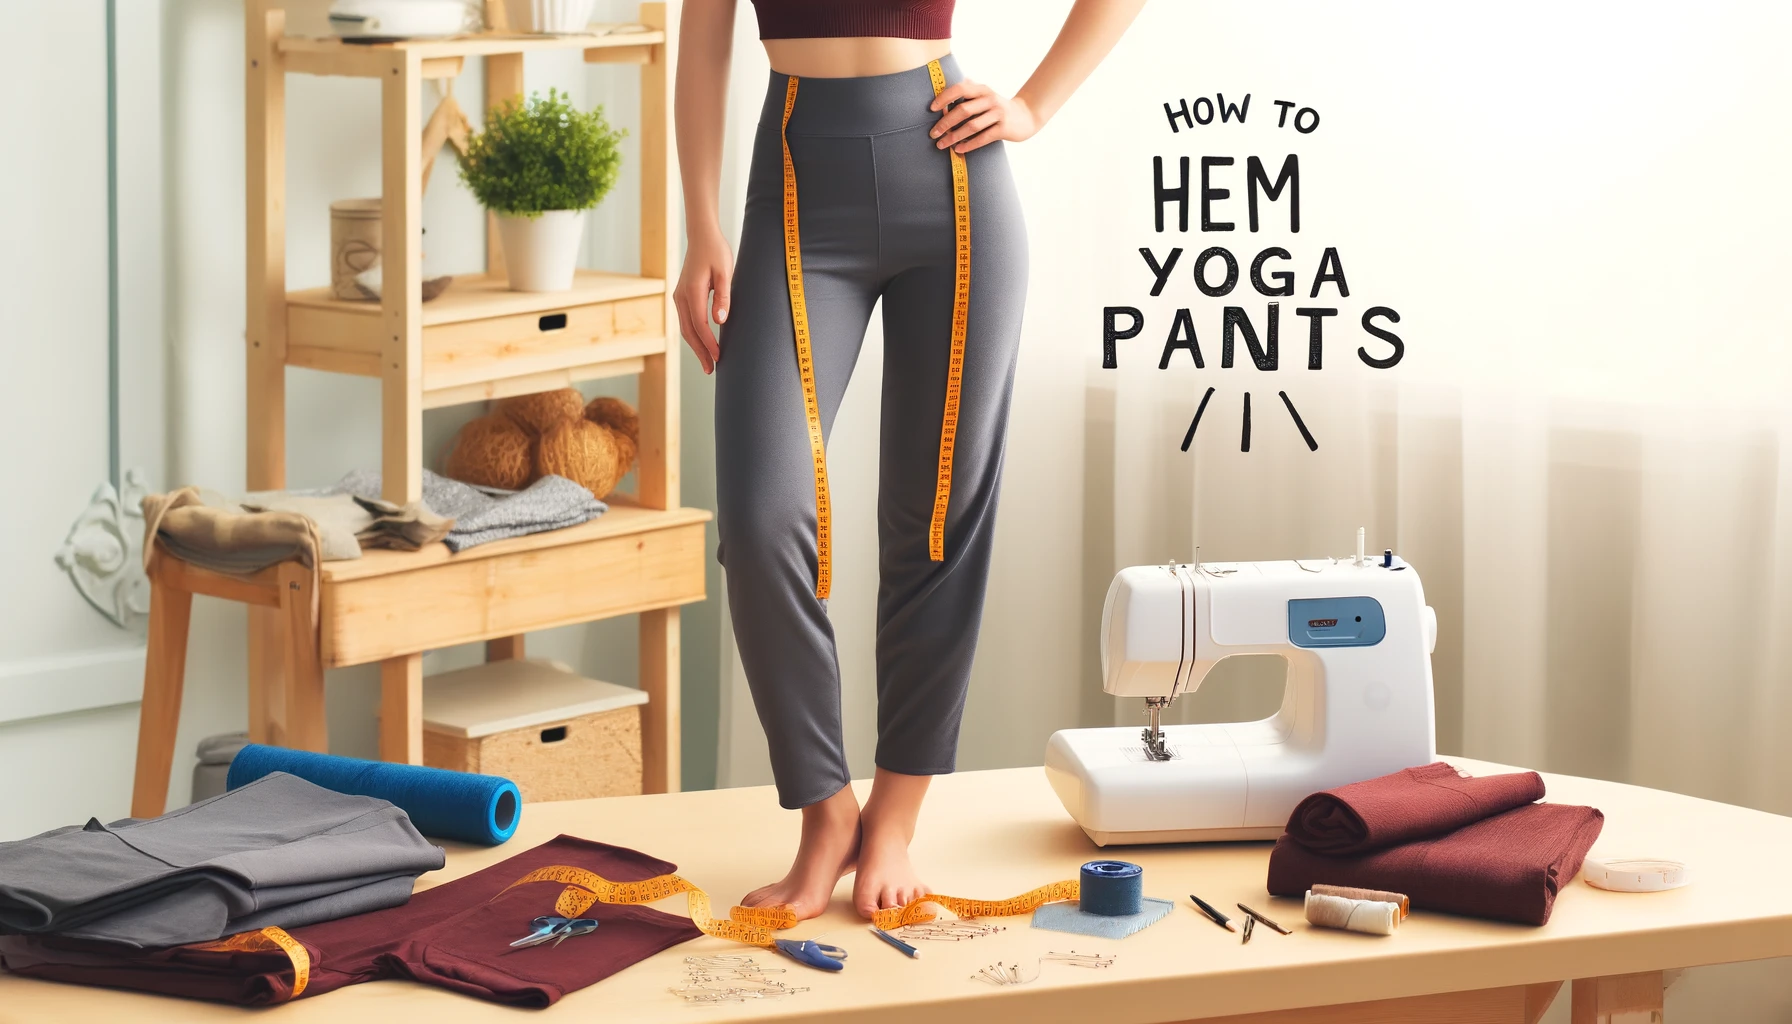
Hemming yoga pants can make them fit just right. Getting the right length for your yoga pants is very important. It makes them comfortable to wear and look good, too. Sometimes, yoga pants are too long, and this can be a problem.
They might drag on the ground or just look bad. In this guide, we will show you how to hem yoga pants and fix this problem easily. You will learn simple steps to make your yoga pants the perfect length.
This guide will help you every step of the way so you can do it by yourself. So, let’s get started!
Why Hem Yoga Pants?
Hemming yoga pants are very useful. When you hem your pants, they fit you better. This makes them more comfortable to wear. They also look nicer because they are the right length.
Hemmed yoga pants give a professional look, like you bought them just for you. You can also make them fit your style by choosing the length you want.
For example, my friend Emma had yoga pants that were too long. She always stepped on them, and they got dirty.
She learned how to hem yoga pants and made them the perfect length. Now, they look great, and she feels great wearing them.
Hemming yoga pants can make a big difference!
Materials Needed
To hem yoga pants, you need a few tools. These tools will help you get the job done easily. Here is what you need:
- Yoga Pants: The pants you want to hem.
- Seam Ripper: To remove the old hem stitches.
- Ruler or Measuring Tape: To measure the new length.
- Straight Pins: To hold the fabric in place.
- Scissors: To cut the fabric.
- Sewing Machine: To sew the new hem. It should have a ballpoint needle.
- Sewing Thread: Match the thread to your pants’ fabric.
These tools are easy to find. You can buy them online or at a local store. Using the right tools makes hemming your yoga pants simple and quick.
How To Hem Yoga Pants? Step-by-Step Instructions!
Step 1: Preparing the Pants
First, you need to prepare your yoga pants for hemming. This means marking where you want the new hem to be. Follow these simple steps:
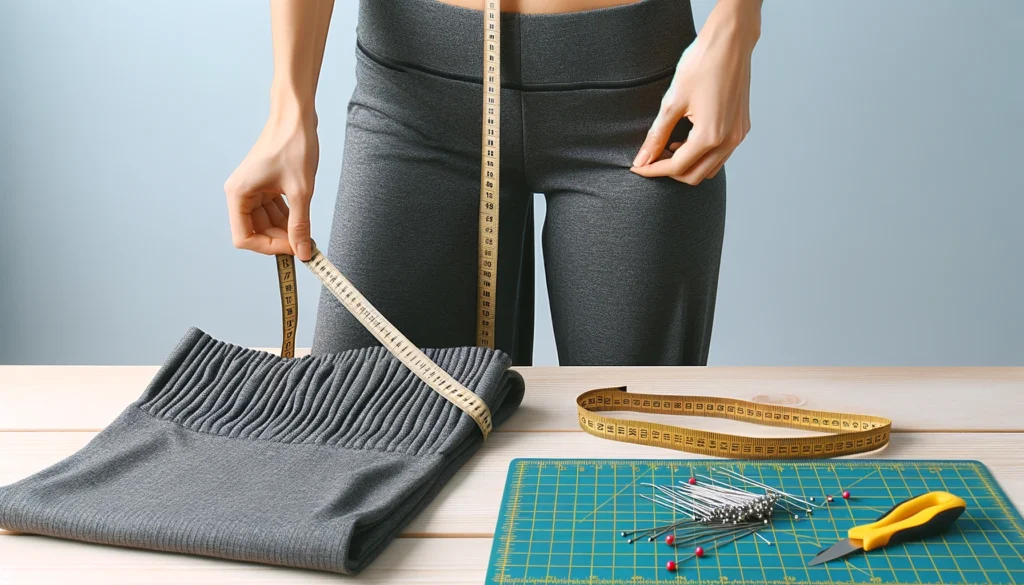
- Put on the Pants: Wear the yoga pants and stand up straight. Make sure you are on a flat surface.
- Measure the New Length: Use a ruler or measuring tape. Measure from the floor up to the point where you want the pants to end. Mark this spot with a straight pin or chalk.
- Mark All Around: Take off the pants. Lay them flat on a table. Use the ruler or measuring tape to mark the same length around each leg. Make sure the marks are even.
- Double-Check: Double-check your marks to ensure they are even and the same on both legs. This step is important for a neat hem.
By preparing your pants this way, you will have a clear guide to follow when you start cutting and sewing. This makes the hemming process easier and helps you get the perfect length.
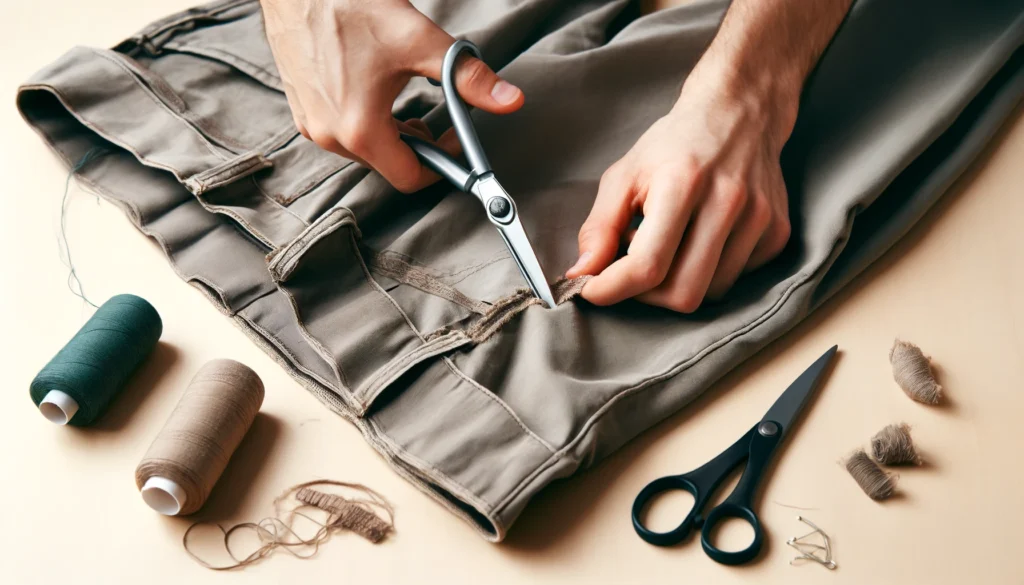
Step 2: Removing the Old Hem
Now, it’s time to remove the old hem. This step is important to make sure your new hem looks neat and professional. Here is how to do it:
- Use a Seam Ripper: Carefully take the seam ripper and slide the pointed end under a stitch in the old hem. Gently pull up to cut the thread.
- Work Slowly: Move along the hem, cutting each stitch. Go slowly to avoid ripping the fabric.
- Remove Loose Threads: Once all the stitches are cut, gently pull the old hem apart. Remove any loose threads with your fingers or tweezers.
- Inspect the Fabric: Check the fabric for any small holes or tears. If you find any, be extra careful when hemming to avoid making them worse.
Tips to Avoid Damaging the Fabric
- Be Gentle: Always handle the fabric gently to prevent it from tearing.
- Work in Good Light: Make sure you are working in a well-lit area so you can see the stitches clearly.
- Take Breaks: If your hands get tired, take a short break. This helps you stay careful and avoid mistakes.
By removing the old hem carefully, you ensure that your new hem will look clean and professional. This step sets the foundation for the rest of your hemming process.
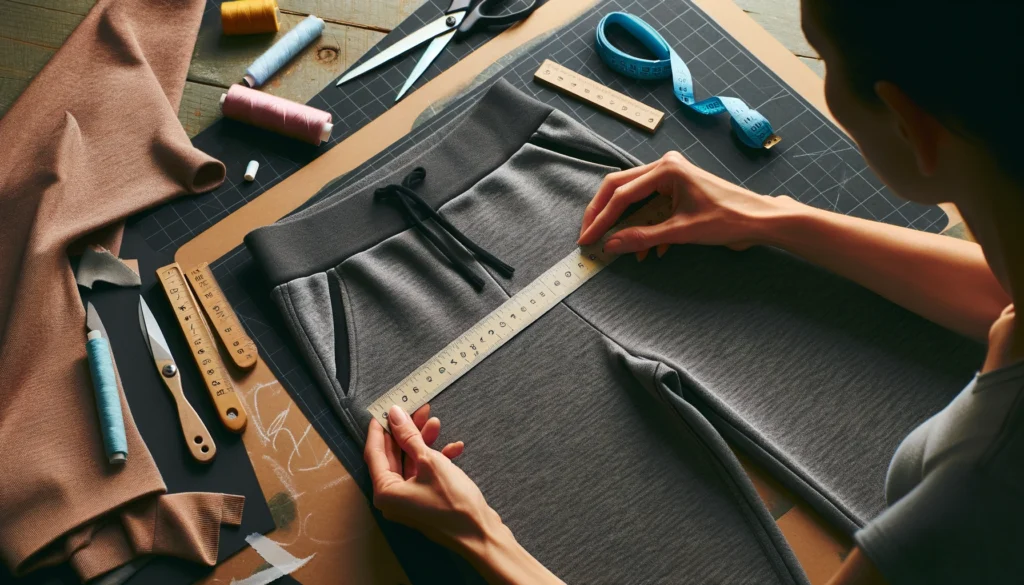
Step 3: Measuring and Cutting
Now, you need to measure and cut the fabric. This step is key to getting the right length. Follow these steps for accurate measuring and cutting:
Measure the New Length:
- Lay the pants flat on a table.
- Use a ruler or measuring tape to measure from the bottom up to the mark you made earlier.
- Mark this spot all around each leg with chalk or a fabric marker.
Add Seam Allowance:
- Measure an extra ¾ inch below the marked line. This extra fabric is for the new hem.
- Mark this new line around each leg.
Cut the Fabric:
- Use sharp fabric scissors to cut along the new line you marked.
- Make sure to cut slowly and evenly to keep the edge straight.
- Check both legs to ensure they are the same length after cutting.
Tips for Even Cutting
- Use a Measuring Tape: Always use a flexible measuring tape for accuracy.
- Cut in Good Light: Make sure you have enough light to see the fabric clearly.
- Go Slowly: Take your time to cut evenly. Rushing can lead to uneven edges.
By measuring and cutting carefully, you ensure that your new hem will be straight and even. This step is crucial for a professional look.
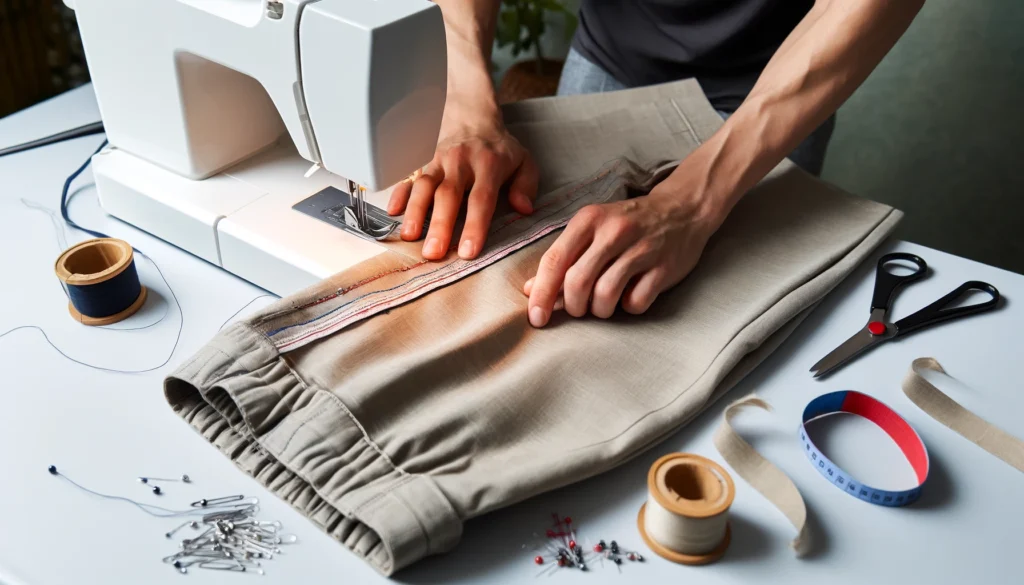
Step 4: Sewing the New Hem
Now, it’s time to sew the new hem. Follow these steps to set up your sewing machine and sew the hem properly:
Set Up Your Sewing Machine:
- Insert a Ballpoint Needle: Use a ballpoint needle. This type of needle is best for stretchy fabrics like yoga pants. It prevents the fabric from tearing.
- Choose the Right Thread: Use a thread that matches the color of your yoga pants. This helps the hem blend in.
Select the Stitch Type:
- Straight Stitch: A straight stitch is simple but may break if the fabric stretches a lot.
- Zigzag Stitch: A zigzag stitch is better for stretchy fabric. It allows the fabric to stretch without breaking the stitch.
- Stretch Stitch: If your machine has a stretch stitch, use it. This stitch is specifically designed for stretchy fabrics and provides the best results.
Sew the Hem:
- Turn Pants Inside Out: Turn your yoga pants inside out. This makes it easier to sew the hem.
- Fold the Fabric: Fold the fabric up to the marked line, creating a neat edge. Pin it in place with straight pins.
- Start Sewing: Place the edge of the fabric under the presser foot of the sewing machine. Sew along the folded edge using your chosen stitch. Go slowly and remove the pins as you sew.
- Finish the Hem: Sew all around the hem, backstitching at the end to secure the stitches. Cut off any excess thread.
Tips for Sewing the Hem
- Go Slowly: Sew slowly to keep the stitches even and neat.
- Use Good Light: Make sure you have enough light to see the fabric and stitches clearly.
- Check Your Work: After sewing, check the hem to make sure it is even and looks good.
By following these steps, you will have a neatly sewn hem that looks professional and allows the fabric to stretch without breaking the stitches. This ensures that your yoga pants fit perfectly and look great.
Step 5: Finishing Touches
Now, let’s finish up the hem and make sure it looks great. This step is all about securing the stitches and checking your work.
Secure the Stitches:
- Clip Thread Ends: After you finish sewing, use scissors to cut off any loose thread ends. Make sure the ends are short and neat.
- Press the Hem: Use an iron to press the hem flat. This helps the stitches set and gives the hem a clean, professional look. Make sure to use a low heat setting suitable for your fabric.
Check the Hem:
- Inspect Your Work: Turn the pants on the right side out. Check the hem to make sure it is even and smooth all around. Look for any missed stitches or uneven areas.
- Try Them On: Put on the pants to see how they fit. Walk around to make sure the hem feels comfortable and looks good.

Troubleshooting Common Issues
Sometimes, things might not go perfectly. Here are some common problems and how to fix them:
Uneven Hem
- Problem: The hem is not the same length all around.
- Solution: Measure again and mark the correct length. Use pins to hold the fabric in place before sewing again.
Puckering Fabric
- Problem: The fabric is puckering or gathering at the hem.
- Solution: Check the tension on your sewing machine. It might be too tight. Also, make sure you are using a ballpoint needle and the right stitch for stretchy fabric.
Broken Stitches
- Problem: The stitches are breaking when the fabric stretches.
- Solution: Use a zigzag or stretch stitch. These stitches allow the fabric to stretch without breaking the thread.
By following these steps and tips, you will have a beautifully hemmed pair of yoga pants. Your pants will fit perfectly and look great, making you feel confident and comfortable.
Alternative Methods
Sometimes, you might want to hem your yoga pants without sewing. Here are two easy methods to try: using fabric glue and no-sew hemming tape.
Using Fabric Glue
Fabric glue, like Liquid Stitch, is a great option if you don’t have a sewing machine. Here’s how to use it:
Step 1: Prepare the Pants:
- Turn the pants inside out.
- Measure and mark the new length as described before.
Step 2: Apply the Glue:
- Fold the fabric up to the marked line.
- Open the fold and apply a line of fabric glue along the edge.
Step 3: Fold and Press:
- Fold the fabric back up to the marked line.
- Press the fabric firmly to bond it with the glue.
- Use a cloth to avoid sticking to the glue.
Step 4: Let It Dry:
- Allow the glue to dry completely. This can take 24 hours.
| Pros | Cons |
|---|---|
| Easy and quick to use. | Not as durable as sewing. |
| No need for sewing tools. | It may come undone with frequent washing. |
| Great for small adjustments. |
Using No-Sew Hemming Tape
No-sew hemming tape is another simple method. It works well for hemming yoga pants without sewing.
Step 1: Prepare the Pants:
- Turn the pants inside out.
- Measure and mark the new length.
Step 2: Apply the Tape:
- Place the hemming tape along the edge of the fabric.
- Fold the fabric up to the marked line.
Step 3: Iron the Hem
- Press the folded hem with an iron. Follow the tape instructions for the right heat setting.
- Hold the iron in place for a few seconds to bond the tape.
| Pros | Cons |
|---|---|
| Quick and easy to use. | It’s not as flexible as a sewn hem. |
| Provides a strong bond. | It may come undone with frequent washing. |
| No need for sewing skills. |
By using these alternative methods, you can easily hem your yoga pants without sewing. These methods are perfect for quick fixes and small adjustments.
Choose the one that works best for you and enjoy your perfectly fitted yoga pants!
Final Thoughts
Learning how to hem yoga pants is a useful skill. It makes your pants fit better and look nicer. Whether you use a sewing machine, fabric glue, or hemming tape, you can achieve great results.
This guide has shown you easy steps to follow. With the right tools and a little practice, you can hem your yoga pants perfectly.
Now, you can enjoy comfortable and stylish yoga pants that fit just right. Happy hemming! If you have any questions or tips to share, feel free to leave a comment below.
Frequently Asked Question (FAQs)
Can I hem yoga pants without a sewing machine?
Yes, you can hem yoga pants without a sewing machine. You can use fabric glue like Liquid Stitch or no-sew hemming tape. These methods are quick and easy, and they don’t require any sewing skills.
What if I don’t have the right needle?
If you don’t have a ballpoint needle, you can use a regular sewing needle, but it might not work as well. A ballpoint needle is best for stretchy fabrics like yoga pants because it prevents tearing.
Can I use any thread to hem my yoga pants?
It is best to use a thread that matches the color of your yoga pants. This helps the hem blend in and look professional. Also, make sure the thread is strong and suitable for stretchy fabric.
How long does it take to hem yoga pants?
Hemming yoga pants can take about an hour if you are sewing by hand or using a machine. If you use fabric glue or hemming tape, it might take less time.
Can I hem other types of pants the same way?
Yes, you can use the same steps to hem other types of pants. For different fabrics, you might need different needles or thread, but the basic steps are the same.