
Knowing how to mend a hem is a useful skill that can save you money and extend the life of your clothes. Hems often get damaged from regular wear, washing, and accidental snags.
Fixing them yourself means you don’t need to replace clothes for minor issues.
Mending is not only practical but also gives you a sense of accomplishment. It’s eco-friendly, too, as it reduces waste.
Learning this basic sewing skill is simple and can be done with minimal tools.
Let’s explore how to fix a ripped hem effectively.
How To Mend A Hem?
Assessing the Hem Damage
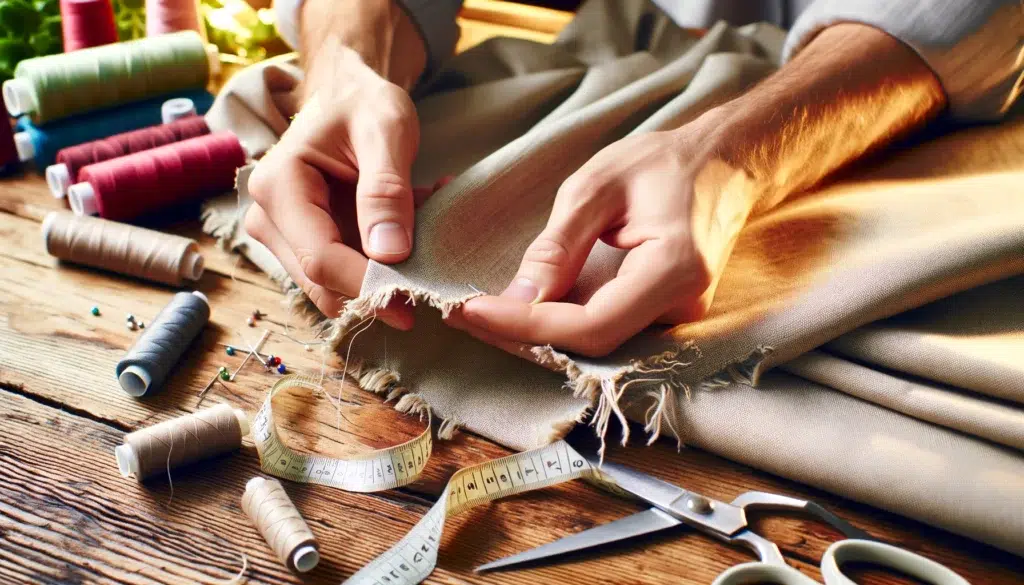
Before you start mending, you need to look at the hem damage. Hems can unravel, tear, or get holes.
Unraveling happens when the threads at the hem come loose. This is common in hems that are not secured properly or have seen a lot of wear.
Tears occur when the fabric rips, often from snagging on something or from too much strain on the hem. Tears can range from small snags to larger rips that affect the fabric above the hem.
Holes are gaps in the fabric, often caused by wear and tear. These are common in areas of high friction, like the bottom of a pant leg or the edge of a skirt.
To determine the extent of the damage, look closely at the hem. Is the fabric still strong, or is it thin and worn? If the damage is minor, like a few loose threads or a small tear, mending is a good option.
If the fabric is very worn or has large holes, you might need to replace the garment or find a larger piece of fabric for a patch.
Deciding whether to mend or replace depends on how bad the damage is. Mending small issues can save your clothes and make them last longer.
Replacing the garment might be needed if the damage is too extensive or the fabric is very weak.
By assessing the damage carefully, you can choose the best way to fix it and keep your clothes looking good.
Gathering Necessary Supplies
Before you start to mend a hem, gather all the supplies you need. This makes the process smooth and efficient.
- Thread: Choose a thread that matches the color and thickness of the fabric. This helps the mend blend in and look neat.
- Needles: Use a needle that matches the fabric type. Thicker fabrics need sturdier needles, while delicate fabrics need finer ones.
- Scissors: A sharp pair of scissors is essential for cutting thread and trimming any frayed edges of the hem.
- Pins: Use pins to hold the hem in place while you work. This keeps the fabric steady and ensures an even hem.
- Measuring tape: Measure the hem to ensure it is even all around. This helps you achieve a professional finish.
- Iron and ironing board: Iron the hem area before and after mending to remove wrinkles and set the stitches. A smooth hem is easier to work with and looks better.
- Fabric glue or fusible bonding web (optional): These are great for quick fixes or for those who prefer not to sew. Fabric glue can hold small areas, while fusible bonding web can secure larger sections.
Having these supplies ready will make mending your hem easier and help you achieve a clean, professional look.
Preparing the Garment for Mending
Before you mend a hem, prepare the garment properly. This ensures the best results and makes the mending process easier.
1. Washing and Drying the Garment First, wash and dry the garment. This removes any dirt or oils that might interfere with the mending process. Clean fabric is easier to work with and helps the mend hold better.
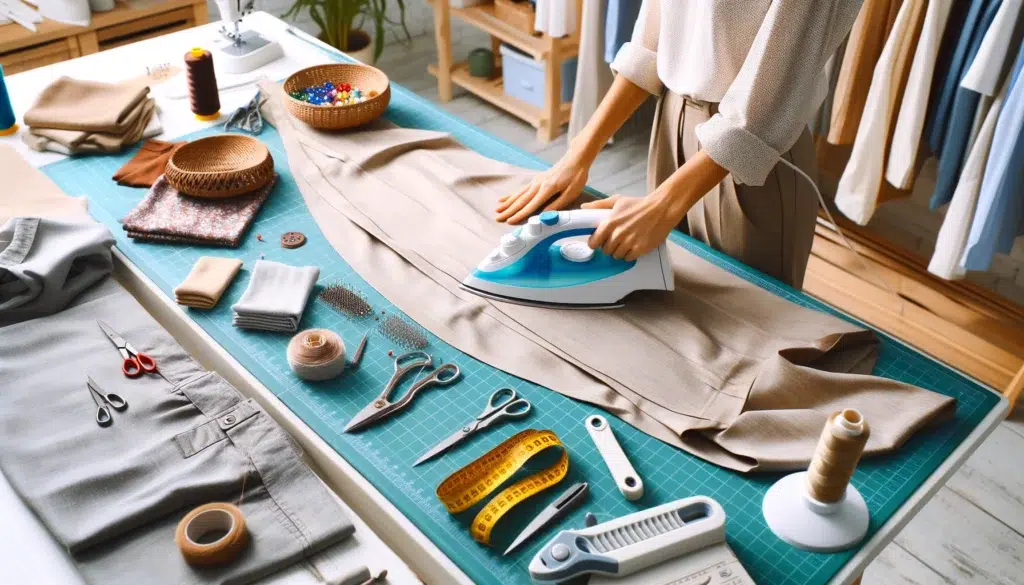
2. Ironing the Hem Area Next, iron the hem area. Use an iron and ironing board to smooth out wrinkles. A flat hem is much easier to sew and helps you see the damage clearly. Be sure to use the appropriate heat setting for your fabric to avoid damage.
3. Trimming Loose Threads and Evening Out the Hem Inspect the hem and trim any loose threads with your scissors. This prevents further unraveling and gives you a clean area to work on.
If the hem is uneven, use your measuring tape to check the length and trim it if necessary. Ensuring the hem is even helps achieve a neat and professional look.
Hand Sewing Methods for Mending a Hem
1. Blind Stitch
A blind stitch is a great way to mend a hem so that the stitches are not visible from the outside. Here are the steps to do a blind stitch.
Step-by-Step Instructions!
Step 1: Thread the Needle: Take a needle and thread it with a matching thread. Make sure the thread is long enough to go around the hem with some extra length. Knot the end of the thread.
Step 2: Fold the Hem: Fold the hem to the desired length. Use pins to hold the hem in place.
Step 3: Start the Stitch: Insert the needle into the fold of the hem, pulling it through to hide the knot inside the fold.
Step 4: Catch the Fabric: Take a small stitch from the main fabric, just above the fold. Then, push the needle back into the fold, traveling a short distance (about 1/4 inch) inside the fold before bringing it out again.
Step 5: Continue Stitching: Repeat the process: take a small stitch from the main fabric and then push the needle through the fold. Continue this until you reach the end of the hem.
Step 6: Finish the Stitch: Once you reach the end, make a small knot inside the fold to secure the thread. Trim any excess thread with scissors.
Tips for Achieving an Invisible Mend
- Use Matching Thread: Choosing a thread that matches the fabric color helps make the stitches less visible.
- Small Stitches: Keep the stitches small and close together to blend in with the fabric.
- Consistent Tension: Maintain even tension on the thread to avoid puckering.
- Iron the Hem: After sewing, iron the hem to set the stitches and ensure a smooth finish.
Using a blind stitch is ideal for creating an invisible mend, especially on formal garments where you want the repair to be discreet.
2. Slip Stitch
Use a slip stitch when you want an almost invisible mend. This stitch is perfect for hems on skirts, pants, and dresses where you want the thread to be hidden. It is also good for lightweight fabrics where you want a neat and tidy finish.
Step-by-Step Instructions
Step 1: Thread the Needle: Thread a needle with matching thread and knot the end.
Step 2: Fold the Hem: Fold the hem to the desired length and pin it in place. Make sure the fold is even.
Step 3: Start the Stitch: Insert the needle into the fold of the hem to hide the knot.
Step 4: Take Small Stitches: Take a small stitch from the main fabric just above the fold, then push the needle back into the fold. Move the needle along inside the fold before bringing it out again, about 1/4 inch away.
Step 5: Continue Stitching: Repeat this process, taking small stitches from the main fabric and pushing the needle through the fold. Continue until you reach the end of the hem.
Step 6: Finish the Stitch: When you reach the end, make a small knot inside the fold to secure the thread. Trim any excess thread with scissors.
No-Sew Methods for Mending a Hem
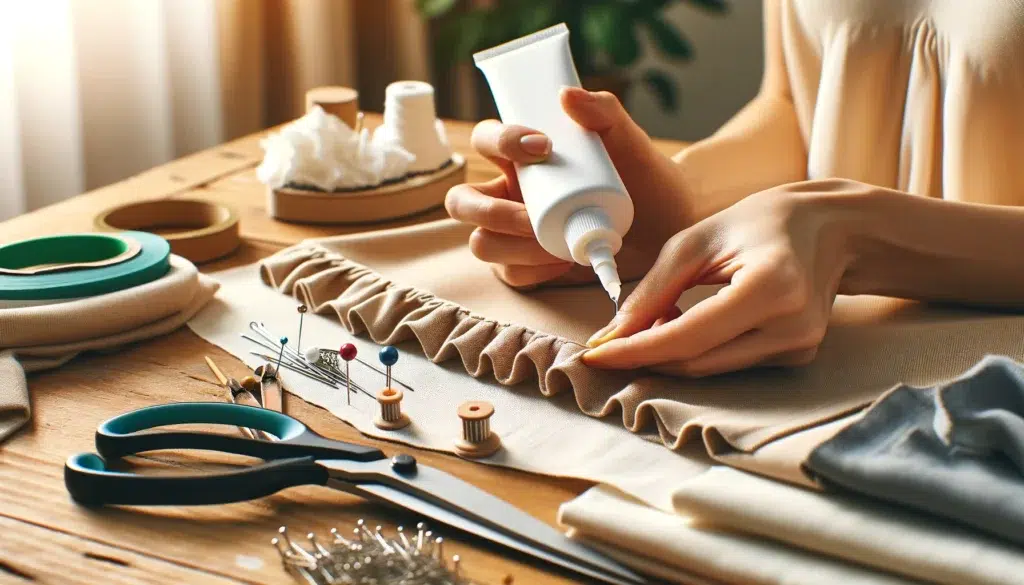
1. Fabric Glue
Fabric glue is a liquid adhesive designed to fix fabrics. It is flexible and works well on stretchy materials. There are different types of fabric glue, including:
- Permanent Fabric Glue: Ideal for long-lasting repairs on clothes, cushions, and upholstery.
- Washable Fabric Glue: Suitable for items that will be washed frequently.
- Temporary Fabric Glue: Good for quick fixes and craft projects.
Step-by-Step Instructions!
Step 1: Prepare the Garment: Wash and dry the garment. Do not use fabric softener.
Step 2: Apply the Glue: Squeeze a thin line of fabric glue along the edge of the hem.
Step 3: Press the Hem: Fold the hem up and press it firmly in place.
Step 4: Secure the Hem: Use pins or clips to hold the hem securely until the glue dries.
Step 5: Drying Time: Allow the glue to dry completely before wearing or washing the garment.
Pros and Cons of Using Fabric Glue
- Pros:
- Easy to use
- No sewing skills required
- Dries clear and flexible
- Permanent and washable options are available
- Cons:
- Can be messy
- It may not be as strong as stitching
- Some glues may stiffen the fabric
2. Fusible Bonding Web
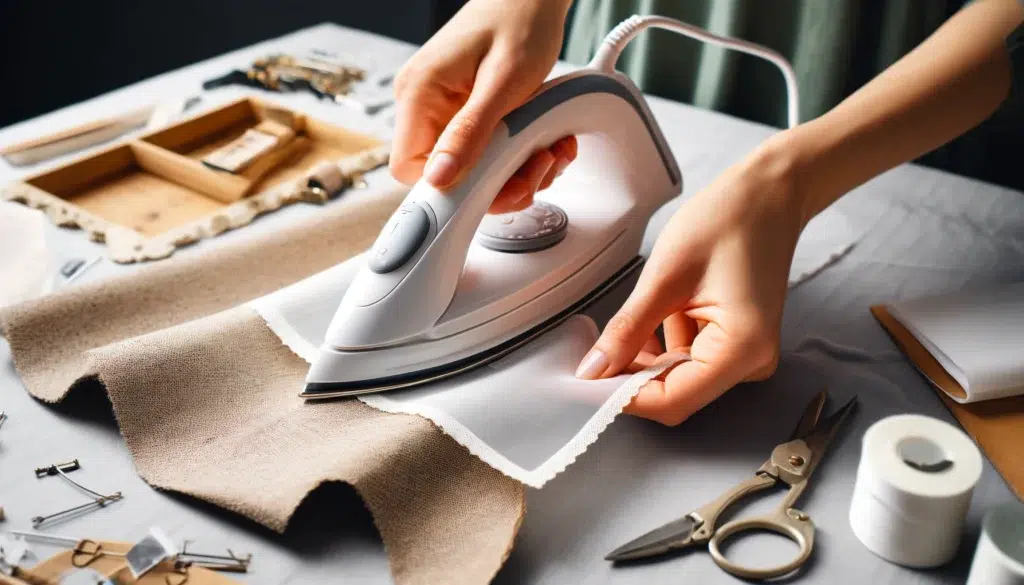
A fusible bonding web is a thin adhesive strip that melts when heated with an iron. It bonds two layers of fabric together, creating a strong, permanent hold.
Step-by-Step Instructions
Step 1: Prepare the Garment: Wash and dry the garment. Iron the hem area to remove wrinkles.
Step 2: Cut the Web: Cut a piece of fusible bonding web to fit the length of the hem.
Step 3: Place the Web: Place the bonding web between the hem and the garment.
Step 4: Press with Iron: Set the iron to a medium heat setting. Press the iron on the hem for 10-15 seconds.
Step 5: Check the Bond: Allow the hem to cool and check if it is securely bonded. If not, repeat the pressing process.
Tips for Achieving a Strong Bond
- Use a Damp Cloth: Place a damp cloth between the iron and the fabric to prevent scorching.
- Avoid Stretching: Do not stretch the fabric while applying the bonding web.
- Test First: Always test on a scrap piece of fabric to ensure the adhesive does not bleed through.
By using fabric glue or fusible bonding web, you can easily mend a hem without sewing. These methods are quick, effective, and perfect for those who do not have sewing skills or a sewing machine.
Troubleshooting Common Hem Mending Issues
1. Puckering or Gathering
Puckering happens when the fabric bunches up, creating an uneven look. Here are some tips to fix this issue:
- Check Tension: Loosen the needle tension on your sewing machine. High tension can cause puckering.
- Use the Right Needle: A dull or incorrect needle can cause puckering. Use a sharp needle suitable for your fabric.
- Stabilize the Fabric: Use interfacing or stabilizers to keep the fabric smooth.
- Press, Don’t Iron: Press the hem with steam instead of ironing to avoid stretching the fabric.
2. Visible Stitches on the Right Side of the Garment
Visible stitches can make the hem look unprofessional. Here’s how to avoid this:
- Blind Hem Stitch: Use a blind hem stitch to keep stitches hidden on the right side.
- Match Thread Color: Use a thread color that matches your fabric to make stitches less noticeable.
- Hand Sewing: Hand sewing with tiny stitches can help keep them invisible.
3. Hem Not Laying Flat
A hem that doesn’t lay flat can look messy. Here’s how to fix it:
- Use a Walking Foot: A walking foot can help feed the fabric evenly through the machine, preventing shifting and puckering.
- Increase Stitch Length: Longer stitches can help the hem lay flatter.
- Press the Hem: Use a steam iron and a tailor’s clapper to press the hem flat.
4. Thread Breaking or Tangling
Thread issues can be frustrating. Here’s how to troubleshoot them:
- Check Thread Tension: Ensure the bobbin and top thread tensions are balanced.
- Use Quality Thread: Cheap or old thread can break easily. Use high-quality thread suitable for your fabric.
- Proper Threading: Make sure the sewing machine is threaded correctly. Incorrect threading can cause tangling.
- Clean the Machine: Regularly clean your sewing machine to remove lint and dust that can cause thread issues.
By addressing these common hem-mending issues, you can achieve a professional and durable finish on your garments.
Final Thoughts
Knowing how to mend a hem is a valuable skill that can save you money and extend the life of your clothes.
Whether you choose to sew by hand, use a sewing machine, or opt for no-sew methods like fabric glue or fusible bonding web, mending a hem is straightforward and rewarding.
By following the steps and tips provided, you can fix hems on various garments, from a pair of jeans to a delicate dress.
Keep practicing, and soon, you’ll be able to mend any hem with confidence and ease. Happy mending!